Valentine’s Day Red Velvet Cupcakes Recipe: 7 Amazing Secrets to Success
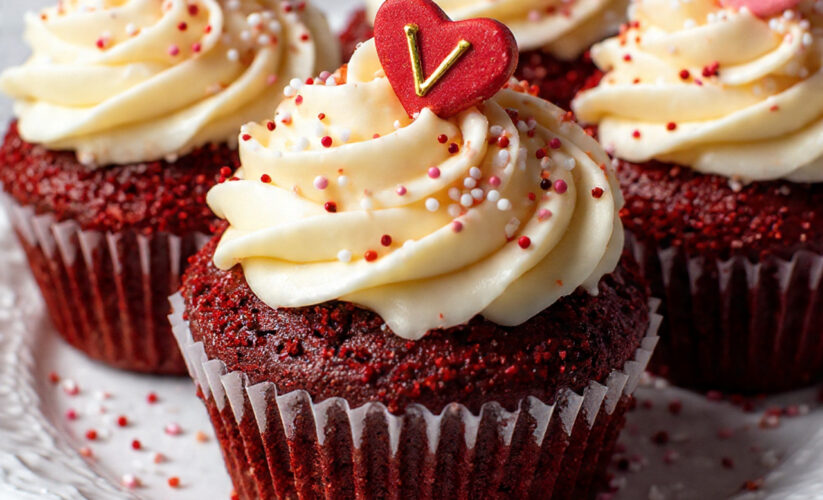
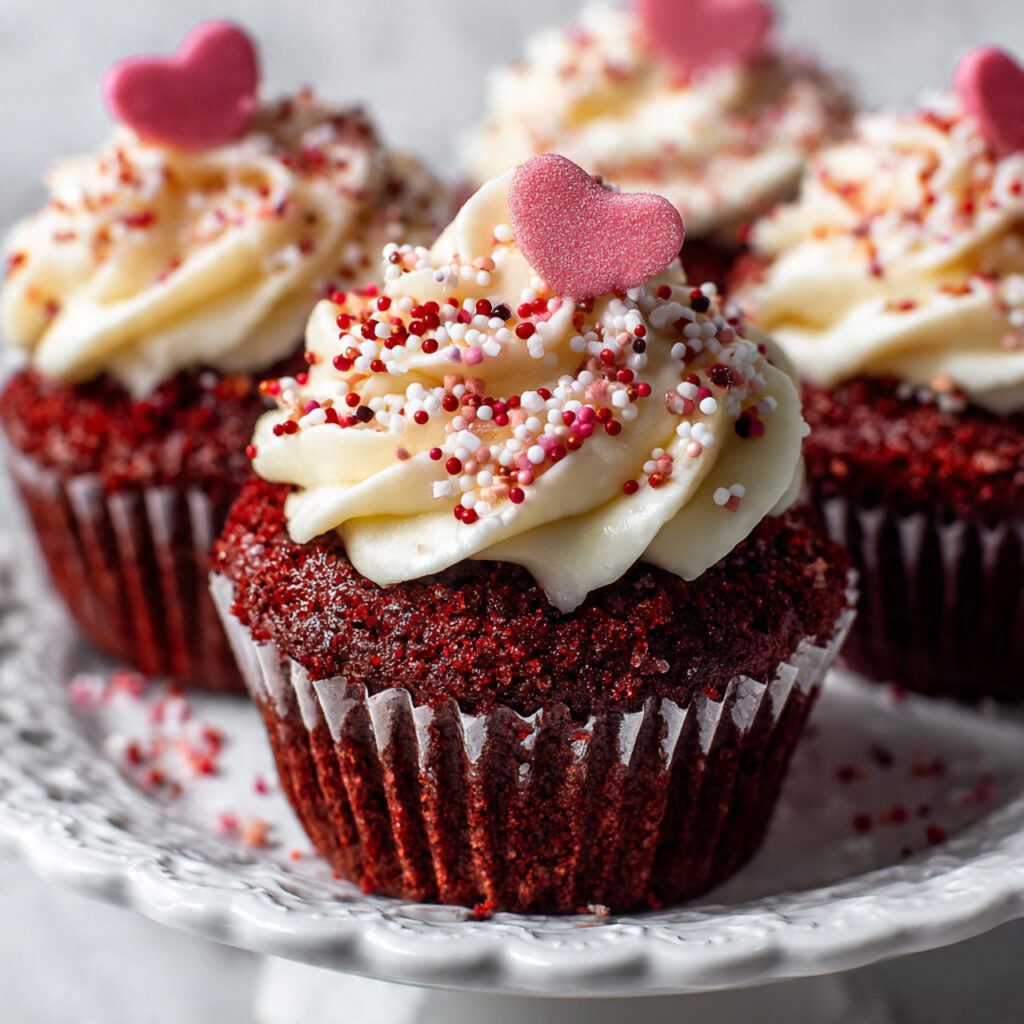
Valentine’s Day red velvet cupcakes are the ultimate romantic dessert for celebrating love. These luxurious Valentine’s Day red velvet cupcakes deliver romance in every bite with their striking crimson color, velvety crumb, and crowned swirls of cream cheese frosting. Whether you’re baking Valentine’s Day red velvet cupcakes for a special someone, hosting a Valentine’s party, or simply treating yourself, this comprehensive guide will help you create bakery-quality cupcakes that look as stunning as they taste.
Understanding Valentine’s Day Red Velvet Cupcakes
Valentine’s Day red velvet cupcakes are more than just chocolate cake with red food coloring—they’re a unique creation with a fascinating history. The “velvet” refers to the incredibly soft, tender crumb achieved through a specific combination of ingredients including buttermilk, vinegar, and cocoa powder. The slight tanginess pairs beautifully with sweet cream cheese frosting, creating a flavor profile that’s sophisticated and utterly irresistible. The vivid red color makes Valentine’s Day red velvet cupcakes perfect for Valentine’s Day celebrations.
Essential Ingredients
For the Red Velvet Cupcakes
Creating the perfect red velvet cupcake requires precise measurements and quality ingredients:
Dry Ingredients:
- 1½ cups all-purpose flour (190g)
- 2 tablespoons unsweetened cocoa powder
- 1 teaspoon baking soda
- ½ teaspoon salt
- 1¼ cups granulated sugar (250g)
Wet Ingredients:
- ½ cup unsalted butter, melted and slightly cooled
- 2 large eggs, room temperature
- 1 cup buttermilk, room temperature
- 2 tablespoons red food coloring (liquid or gel)
- 2 teaspoons pure vanilla extract
- 1 teaspoon white vinegar
- 1 teaspoon apple cider vinegar
Why These Ingredients Matter:
The buttermilk provides acidity that reacts with the baking soda, creating a tender crumb and helping the cupcakes rise. The vinegar enhances this reaction while adding a subtle tang. The cocoa powder isn’t enough to make these chocolate cupcakes—it’s just enough to add depth and a hint of chocolate flavor that complements the tanginess. The red food coloring is what gives these cupcakes their signature dramatic appearance.
For the Cream Cheese Frosting
The crowning glory of any red velvet cupcake is its luscious cream cheese frosting:
- 8 ounces cream cheese, softened to room temperature (full-fat only)
- ½ cup unsalted butter, softened to room temperature
- 4 cups powdered sugar, sifted (480g)
- 2 teaspoons pure vanilla extract
- 2-3 tablespoons heavy cream or milk
- Pinch of salt
Frosting Success Tips:
Both the cream cheese and butter must be at room temperature—not cold, not melted, but soft enough to leave an indent when pressed. This is crucial for achieving a smooth, pipeable consistency without lumps.
For Decoration
Transform your cupcakes from homemade to professionally decorated with these finishing touches:
- Red velvet cake crumbs
- White chocolate hearts
- Fresh raspberries or strawberries
- Edible rose petals
- Red and pink sprinkles
- Edible glitter or pearl dust
- Mini chocolate chips
- Conversation heart candies
- Red sanding sugar
- Fondant heart toppers
Equipment You’ll Need
Having the right tools makes the baking process more efficient and enjoyable:
- Standard 12-cup muffin tin
- Paper cupcake liners (preferably foil-lined for best appearance)
- Large mixing bowls
- Electric mixer (stand or hand)
- Whisk
- Rubber spatula
- Ice cream scoop or ¼ cup measure
- Cooling rack
- Piping bags
- Large star tip (Wilton 1M or 2D work beautifully)
- Offset spatula
- Toothpicks for testing doneness
Detailed Preparation Method
Step 1: Prepare Your Workspace
Begin by preheating your oven to 350°F (175°C). This moderate temperature ensures the cupcakes bake evenly without doming excessively or drying out. Line your muffin tin with cupcake liners—foil-lined liners are ideal for Valentine’s Day as they photograph beautifully and prevent the red color from seeping through to the paper.
Position your oven rack in the center position for optimal heat distribution. Gather all your ingredients and measure them before you begin mixing. This French technique called “mise en place” (everything in its place) makes the process smoother and prevents mistakes.
Step 2: Combine the Dry Ingredients
In a large mixing bowl, whisk together the flour, cocoa powder, baking soda, salt, and sugar. Whisking for at least 45 seconds ensures these ingredients are thoroughly combined, which is essential for even distribution throughout your batter. The cocoa powder can clump, so breaking it up now prevents cocoa pockets in your finished cupcakes.
Set this bowl aside—you’ll be adding the wet ingredients directly to it, which is the reverse creaming method that creates red velvet’s signature texture.
Step 3: Mix the Wet Ingredients
In a separate medium bowl, whisk together the melted butter (make sure it’s cooled slightly so it doesn’t cook the eggs), eggs, buttermilk, red food coloring, vanilla extract, white vinegar, and apple cider vinegar. Whisk vigorously for about 30 seconds until the mixture is completely smooth and the color is evenly distributed.
Color Intensity Note: The amount of red food coloring can be adjusted based on your preference. For a deep, dramatic Valentine’s red, use 2 tablespoons of gel food coloring. For a more subtle burgundy shade, reduce to 1 tablespoon. Gel colors provide more vibrant results than liquid without adding excess moisture to your batter.
Step 4: Combine Wet and Dry Ingredients
Create a well in the center of your dry ingredients. Pour all the wet ingredients into this well. Using a rubber spatula or wooden spoon, gently fold the ingredients together, starting from the center and working outward in circular motions.
Mix until just combined—you should see no streaks of flour, but don’t overmix. Overmixing develops gluten, which makes cupcakes tough and dense rather than tender and velvety. The batter should be smooth, relatively thin (thinner than typical cake batter), and a gorgeous vibrant red.
Step 5: Fill the Cupcake Liners
Using an ice cream scoop or a ¼ cup measure for consistent sizing, fill each cupcake liner about two-thirds full. This amount allows room for the cupcakes to rise without overflowing, creating that perfect domed top. Consistent portioning ensures all your cupcakes bake evenly and look uniform.
If you have leftover batter, prepare additional liners rather than overfilling—overfilled cupcakes will spill over and create mushroom tops.
Step 6: Bake to Perfection
Place your muffin tin in the preheated oven and bake for 18-22 minutes. The exact time depends on your oven and altitude. Start checking at 18 minutes by inserting a toothpick into the center of a cupcake. It should come out clean or with just a few moist crumbs—not wet batter.
The tops should spring back when lightly touched, and the edges may just be starting to pull away from the liners. Avoid overbaking, as this dries out the cupcakes. Remember, they’ll continue cooking slightly from residual heat even after removal from the oven.
Oven Tips: Avoid opening the oven door during the first 15 minutes of baking, as temperature fluctuations can cause cupcakes to sink. If your oven bakes unevenly, rotate the pan 180 degrees halfway through baking time.
Step 7: Cool Completely
Remove the muffin tin from the oven and let it sit for 5 minutes. This brief resting period allows the cupcakes to set and makes them easier to remove. After 5 minutes, carefully transfer each cupcake to a wire cooling rack.
Let the cupcakes cool completely—at least 45 minutes to 1 hour—before frosting. This is absolutely critical. Frosting warm cupcakes causes the cream cheese frosting to melt and slide off, creating a disappointing mess instead of beautiful swirls.
For faster cooling, you can place the cooling rack in the refrigerator after the cupcakes have cooled for 15 minutes at room temperature.
Step 8: Prepare the Cream Cheese Frosting
While your cupcakes cool, make the frosting. In a large bowl using an electric mixer, beat the softened cream cheese on medium speed for 2 minutes until it’s smooth and fluffy with no lumps. Scrape down the bowl.
Add the softened butter and beat for another 2 minutes until the mixture is light and completely combined. The mixture should look pale and airy.
Reduce mixer speed to low and gradually add the sifted powdered sugar, one cup at a time. Sifting is essential—it prevents lumps and creates silky-smooth frosting. After all the sugar is incorporated, add the vanilla extract and salt.
Increase speed to medium-high and beat for 3-4 minutes. The frosting should be light, fluffy, and hold stiff peaks. If it’s too thick, add heavy cream one tablespoon at a time until you reach the perfect pipeable consistency. If too thin, add more powdered sugar ¼ cup at a time.
Troubleshooting Frosting:
- Too runny: Refrigerate for 15-20 minutes, then rewhip
- Lumpy: Cream cheese wasn’t soft enough; let it sit at room temperature longer
- Too sweet: Add a pinch more salt or a teaspoon of lemon juice to balance
Step 9: Frost the Cupcakes
Transfer your cream cheese frosting to a piping bag fitted with a large star tip. If you don’t have a piping bag, a zip-top bag with the corner snipped off works in a pinch, though the results won’t be as decorative.
Piping Techniques for Beautiful Cupcakes:
Classic Swirl: Hold the piping bag perpendicular to the cupcake with the tip about ½ inch above the surface. Apply steady pressure while moving in a circular motion from the outside edge toward the center. When you reach the center, release pressure and pull up quickly to create a peak.
Rose Swirl: Start at the center of the cupcake and pipe in a tight spiral outward, gradually increasing the circle size. Make 2-3 circles, then release pressure.
Ruffle Design: Hold the bag at a 45-degree angle and pipe in a back-and-forth zigzag motion while rotating the cupcake, creating layers of ruffles.
High Swirl: Start piping from the outer edge in a circular motion, but instead of stopping at the center, continue building upward in a cone shape for dramatic height.
For those who prefer a simpler approach, use an offset spatula to spread frosting generously on top, then use the back of a spoon to create rustic swirls and peaks.
Step 10: Create Red Velvet Crumbs (Optional but Impressive)
For an authentic bakery touch, create red velvet cake crumbs to sprinkle on top. Take one unfrosted cupcake (or save extra batter to bake a small sample) and let it dry out slightly, or toast it in a 300°F oven for 10 minutes. Once completely cool and slightly dried, crumble it with your fingers or pulse in a food processor to create fine to medium crumbs.
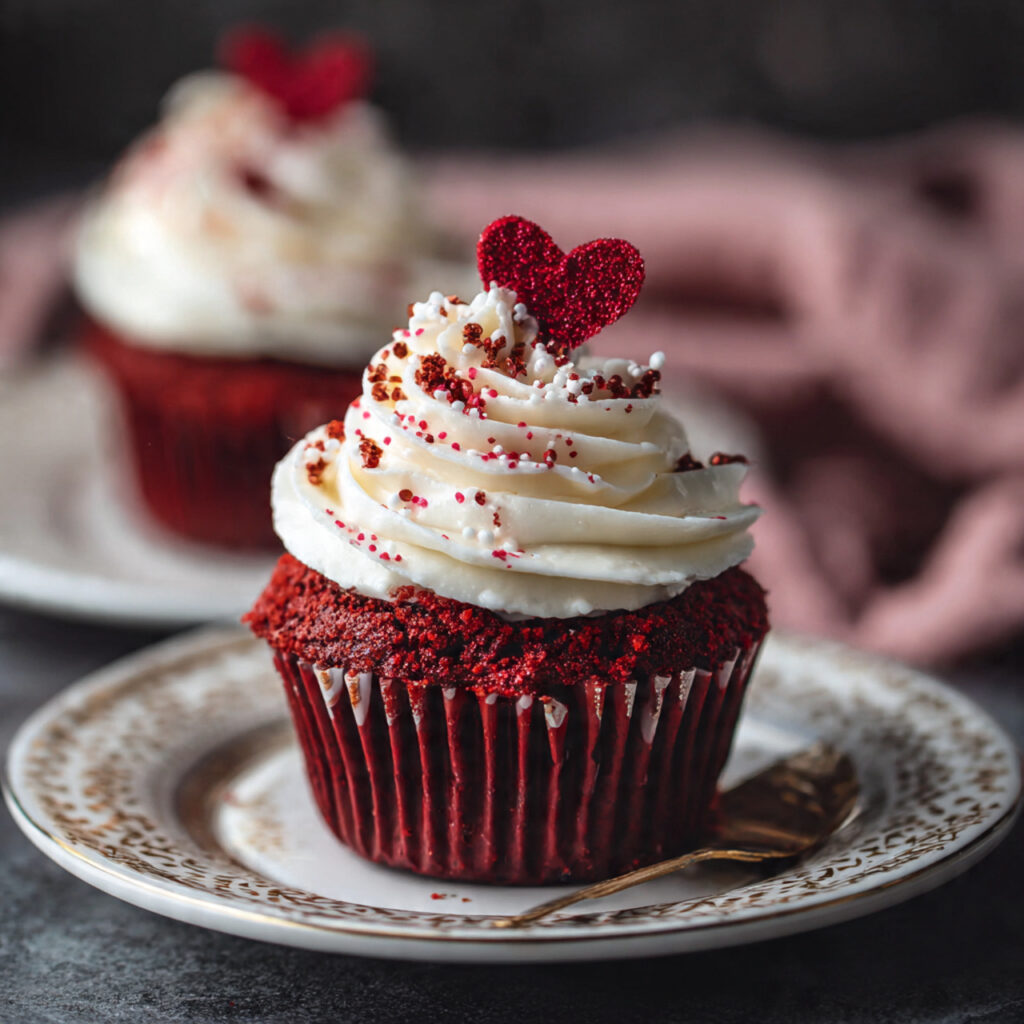
Sprinkle these crimson crumbs over the frosted cupcakes immediately after piping. They add texture, reinforce the red velvet flavor, and create a professional “naked crumb” effect that’s trending in bakeries.
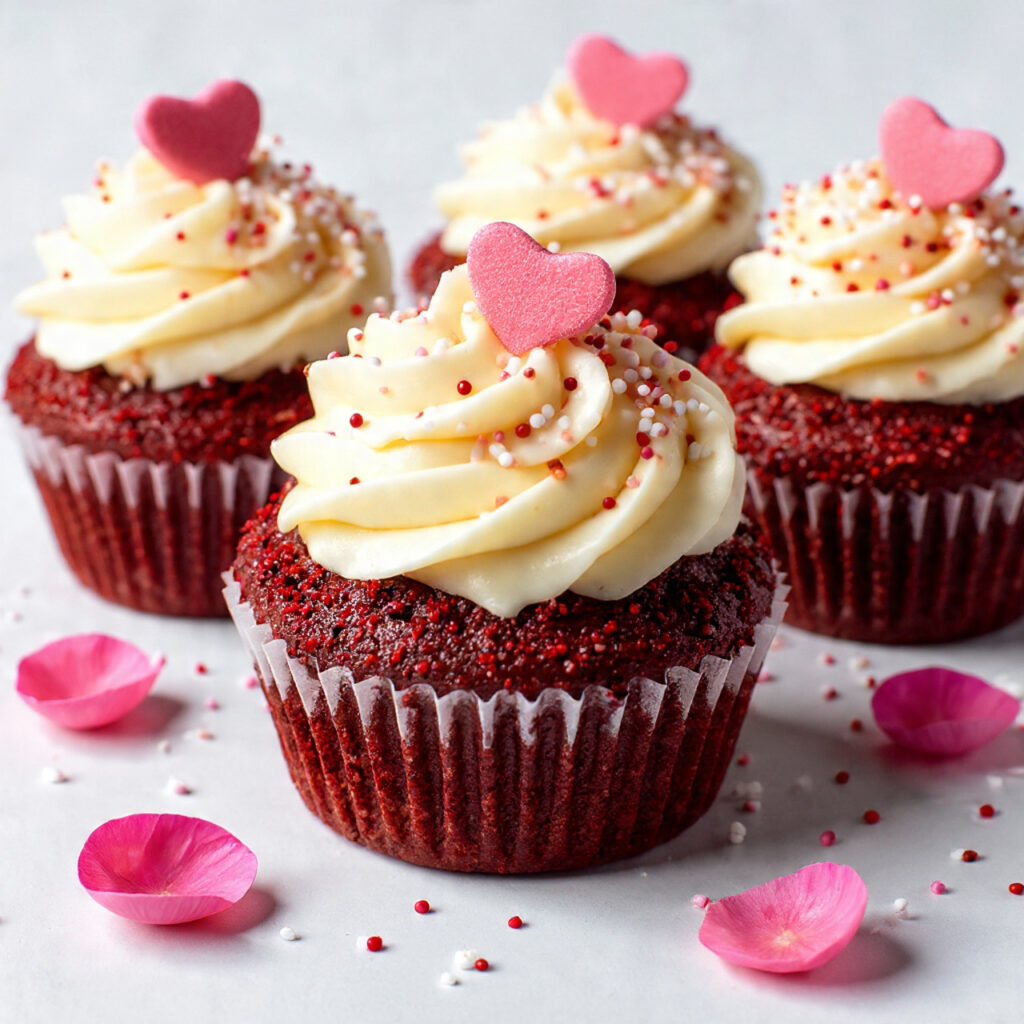
Step 11: Add Valentine’s Day Decorations
This is where your cupcakes transform from delicious to absolutely spectacular. Here are multiple decoration ideas to suit different styles:
Romantic Elegance: Place a fresh raspberry on top of each swirl, add a sprinkle of edible pearl dust, and finish with a small edible rose petal. This combination is sophisticated and naturally beautiful.
Playful Valentine’s: Press conversation heart candies into the frosting, scatter heart-shaped sprinkles, and add a few mini chocolate chips. This approach is fun and festive, perfect for classroom parties or casual gatherings.
Chocolate Lovers: Create white chocolate hearts by melting white chocolate, piping heart shapes onto parchment paper, letting them set, then placing them at an angle in the frosting. Add chocolate curls or shavings around the base.
Minimalist Chic: Simply dust the frosted cupcakes with a light coating of red sanding sugar or edible glitter for sparkle. Less is more with this elegant approach.
Berry Beautiful: Top each cupcake with a perfectly ripe strawberry (with a small heart cut into the top) and a mint leaf. The red-on-red color palette is stunning and adds fresh flavor.
Step 12: Present with Style
Arrange your finished cupcakes on a decorative cake stand or tiered cupcake tower. For gift-giving, place cupcakes in individual clear boxes tied with red ribbon, or arrange them in a decorative bakery box lined with tissue paper.
Consider the overall presentation: use doilies under cupcakes, scatter rose petals around the display, or add small Valentine’s Day decorations like heart confetti on the serving platter.
Making Your Cupcakes Look Amazing: Advanced Techniques
Two-Tone Frosting Effect
Create a stunning visual by using two colors of frosting. Divide your cream cheese frosting in half. Leave one portion white and tint the other pale pink or keep it white and tint both different shades of pink.
Place both frostings side by side in your piping bag—don’t mix them. When you pipe, both colors will come out simultaneously, creating beautiful striped swirls. This technique requires no special skills but looks incredibly professional.
Ombré Cupcakes
Create a gradient effect across multiple cupcakes. Divide frosting into 3-4 portions, tinting each progressively darker (from white to pale pink to medium pink to deep rose). Frost your cupcakes in order from lightest to darkest, creating a beautiful ombré display when arranged together.
Textured Frosting
Use different piping tips to create varied textures. A grass tip creates a fuzzy, furry effect. A basket weave tip creates ridged patterns. A petal tip can make ruffles and ribbon effects. Experimenting with different tips gives each cupcake a unique personality.
Edible Flowers
Fresh edible flowers like pansies, violas, or small roses add elegant sophistication. Ensure flowers are specifically grown for consumption and haven’t been treated with pesticides. Gently wash and pat dry before placing on frosting. The combination of cream cheese white and vibrant flower colors is breathtaking.
Gold Leaf Accents
For luxurious cupcakes, add small pieces of edible gold leaf to the frosting peaks. Use clean tweezers to gently place the delicate gold sheets. This touch of metallic elegance elevates your cupcakes to special-occasion worthy.
Chocolate Ganache Drizzle
Make a simple ganache by heating ¼ cup cream and pouring over 3 ounces chopped chocolate. Stir until smooth, cool slightly, then transfer to a squeeze bottle. Drizzle thin lines across frosted cupcakes in a crosshatch or zigzag pattern. The dark chocolate against white frosting and red cake creates stunning contrast.
Frosting Roses
Master the art of frosting roses to top your cupcakes. Using a petal tip, pipe overlapping petals in a circular motion, starting from the center and working outward. This takes practice, but even imperfect roses look charming and romantic.
Filled Centers
Take your cupcakes to the next level by adding a surprise filling. After cupcakes cool, use a cupcake corer or small knife to remove a small cone from the center. Fill with chocolate ganache, raspberry preserves, or extra cream cheese frosting. Replace the top of the cone, then frost as usual. When someone bites in, they’ll discover a delicious hidden center.
Pro Tips for Bakery-Quality Results
Use Room Temperature Ingredients: This cannot be overstated. Room temperature ingredients emulsify properly, creating a smooth, even batter and preventing lumps in frosting.
Don’t Skip the Vinegar: The vinegar reacts with baking soda to create the fluffy texture and enhances the red color. It doesn’t make cupcakes taste sour.
Quality Food Coloring Matters: Gel food coloring provides more vibrant color without thinning the batter. Brands like Americolor or Wilton gel colors work best.
Measure Flour Correctly: Use the spoon-and-level method rather than scooping directly from the bag, which compacts flour and leads to dense cupcakes.
Test Your Oven Temperature: Invest in an oven thermometer. Many ovens run hot or cold, affecting baking time and results.
Practice Piping: Before frosting cupcakes, practice your piping technique on parchment paper. You can scrape the frosting back into the bag and reuse it.
Keep Frosting Cool: If frosting becomes too soft while working, refrigerate for 10-15 minutes before continuing.
Storage Strategy: Unfrosted cupcakes freeze beautifully for up to 3 months. Thaw overnight in the refrigerator, bring to room temperature, then frost fresh for best results.
Flavor Variations
While classic red velvet is perfection, consider these variations:
Chocolate Red Velvet: Increase cocoa powder to ¼ cup for more pronounced chocolate flavor.
Vanilla Cream Cheese Frosting: Add an extra teaspoon of vanilla extract or use vanilla bean paste for visible flecks.
Berry Red Velvet: Add ½ cup finely chopped fresh strawberries to the batter for bursts of fruit flavor.
Mocha Red Velvet: Add 1 tablespoon instant espresso powder to the batter for coffee undertones.
Orange Red Velvet: Add 1 tablespoon orange zest to the batter and 1 teaspoon orange extract for a unique twist.
Storage and Make-Ahead Instructions
Room Temperature: Frosted cupcakes can be stored in an airtight container at room temperature for up to 2 days in cool weather (below 70°F).
Refrigeration: Store frosted cupcakes in the refrigerator for up to 5 days. Bring to room temperature 30 minutes before serving for best flavor and texture.
Freezing Unfrosted: Wrap cooled, unfrosted cupcakes individually in plastic wrap, then place in a freezer bag. Freeze up to 3 months. Thaw overnight in refrigerator.
Freezing Frosted: Freeze frosted cupcakes unwrapped for 1 hour until frosting is firm, then wrap individually. Freeze up to 1 month. Thaw in refrigerator overnight, then bring to room temperature.
Make-Ahead Strategy: Bake cupcakes 1-2 days ahead, store airtight at room temperature. Make frosting 1 day ahead, refrigerate, then bring to room temperature and rewhip before using.
Serving Suggestions
Serve these Valentine’s Day Red Velvet Cupcakes as the centerpiece of your celebration. They pair beautifully with:
- Champagne or sparkling rosé for elegant adult gatherings
- Fresh strawberries and chocolate-covered fruits
- Coffee, hot chocolate, or vanilla chai tea
- Ice cream for a decadent cupcake sundae
- Fresh whipped cream on the side
For a romantic touch, serve cupcakes on individual dessert plates with fresh raspberry sauce drizzled around the plate and a few fresh berries as garnish.
Troubleshooting Common Issues
Cupcakes Sinking in the Middle: Oven temperature too low, or oven door opened too early. Ensure proper preheating and avoid opening the door during the first 15 minutes.
Dense, Heavy Texture: Overmixing the batter develops gluten. Mix only until ingredients are just combined.
Dry Cupcakes: Overbaking is the usual culprit. Check for doneness at 18 minutes and remove as soon as a toothpick comes out clean.
Frosting Too Soft: Cream cheese or butter was too warm, or not enough powdered sugar. Refrigerate frosting for 15-20 minutes, then rewhip.
Frosting Too Stiff: Add cream or milk one tablespoon at a time until you reach desired consistency.
Color Not Bright Enough: Use gel food coloring instead of liquid, and ensure your batter isn’t overmixed, which can dull the color.
The Science Behind Red Velvet
Understanding the chemistry makes you a better baker. The reaction between acidic ingredients (buttermilk, vinegar) and baking soda creates carbon dioxide bubbles that make cupcakes rise and tender. The acid also reacts with cocoa powder, bringing out its red undertones (natural cocoa powder has anthocyanin, a red pigment).
Originally, red velvet got its color from this chemical reaction alone. Modern recipes use food coloring to achieve consistent, vibrant results regardless of cocoa powder type.
Why Valentine’s Day Red Velvet Cupcakes Are Perfect for Valentine’s Day
Beyond their striking appearance, Valentine’s Day red velvet cupcakes embody the spirit of Valentine’s Day perfectly. The rich red color of these Valentine’s Day red velvet cupcakes symbolizes love and passion. The tender, delicate crumb represents care and attention. The cream cheese frosting adds sophistication and indulgence. Creating Valentine’s Day red velvet cupcakes from scratch shows thoughtfulness and effort—ingredients that make any gift more meaningful.
Individual Valentine’s Day red velvet cupcakes are also practical for celebrations, allowing easy serving without plates and forks, making them perfect for parties, classroom exchanges, or intimate dinners. Whether you’re making Valentine’s Day red velvet cupcakes for a romantic date night or a large gathering, they deliver both visual impact and delicious flavor that guests will remember.
Conclusion
Valentine’s Day Red Velvet Cupcakes are more than just a dessert—they’re an expression of love, creativity, and care. While the process requires attention to detail, the result is absolutely worth it: stunning, bakery-quality cupcakes that will delight everyone who sees and tastes them.
The beauty of this recipe lies in its versatility. Whether you prefer simple elegance or elaborate decorations, classic flavors or creative variations, these cupcakes adapt to your style while maintaining their essential appeal. The combination of visual drama, velvety texture, and perfectly balanced flavors creates a memorable dessert that celebrates the day of love in the most delicious way possible.
This Valentine’s Day, skip the store-bought treats and create something truly special from your own kitchen. The time and love you invest in these cupcakes will shine through in every gorgeous, delicious bite. Your Valentine—and anyone lucky enough to receive these beautiful creations—will taste the difference that homemade, heartfelt baking makes.
Happy baking, and happy Valentine’s Day!
Print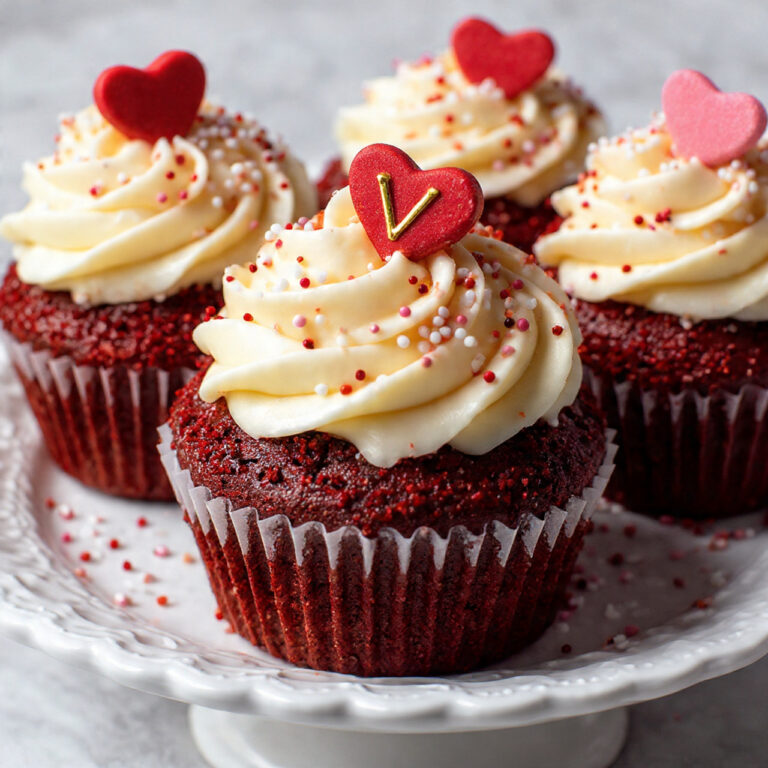
Valentine’s Day Red Velvet Cupcakes Recipe: 7 Amazing Secrets to Success
Valentine’s Day red velvet cupcakes are the ultimate romantic dessert featuring striking crimson-colored cupcakes with a velvety soft crumb, subtle cocoa flavor, and luxurious cream cheese frosting. Perfect for celebrating love with a homemade treat that’s as beautiful as it is delicious.
- Total Time: 40 minutes
- Yield: 12 cupcakes
Ingredients
- 1½ cups all-purpose flour (190g)
- 2 tablespoons unsweetened cocoa powder
- 1 teaspoon baking soda
- ½ teaspoon salt
- 1¼ cups granulated sugar (250g)
- ½ cup unsalted butter, melted and cooled
- 2 large eggs, room temperature
- 1 cup buttermilk, room temperature
- 2 tablespoons red food coloring (liquid or gel)
- 2 teaspoons pure vanilla extract
- 1 teaspoon white vinegar
- 1 teaspoon apple cider vinegar
Instructions
- Preheat oven to 350°F (175°C) and line muffin tin with cupcake liners
- Whisk dry ingredients: flour, cocoa powder, baking soda, salt, and sugar
- Mix wet ingredients: melted butter, eggs, buttermilk, red food coloring, vanilla, and vinegars
- Combine wet and dry ingredients until just mixed (don’t overmix)
- Fill liners two-thirds full using ice cream scoop
- Bake 18-22 minutes until toothpick comes out clean
- Cool in pan 5 minutes, then transfer to wire rack for 45-60 minutes
- Make frosting: Beat cream cheese 2 minutes, add butter, beat 2 minutes
- Gradually add powdered sugar, then vanilla, salt, and cream
- Beat frosting 3-4 minutes until fluffy
- Pipe frosting onto cooled cupcakes using star tip
- Add decorations immediately (berries, sprinkles, crumbs)
- Serve or store
Notes
Room temperature ingredients – Must be at room temp for best results ✅ Gel food coloring – Use 2 tbsp for vibrant red color ✅ Don’t overmix – Mix only until combined to keep texture velvety ✅ Cool completely – Wait full hour before frosting to prevent melting ✅ Make ahead – Bake 1-2 days early, frost day of serving ✅ Storage – Room temp 2 days, refrigerated 5 days (bring to room temp before serving) ✅ Buttermilk substitute – 1 cup milk + 1 tbsp vinegar, let sit 5 minutes ✅ Frosting fix – Too thick? Add cream. Too thin? Refrigerate 15 minutes
- Prep Time: 20 minutes
- Cook Time: 20 minutes
- Category: Dessert
- Method: Baking
- Cuisine: American
- Diet: Vegetarian