

Peanut Butter Cookies Recipe (3 Ingredients!) – Easy & Delicious

Introduction: Why Peanut Butter Cookies Are the Ultimate Comfort Food
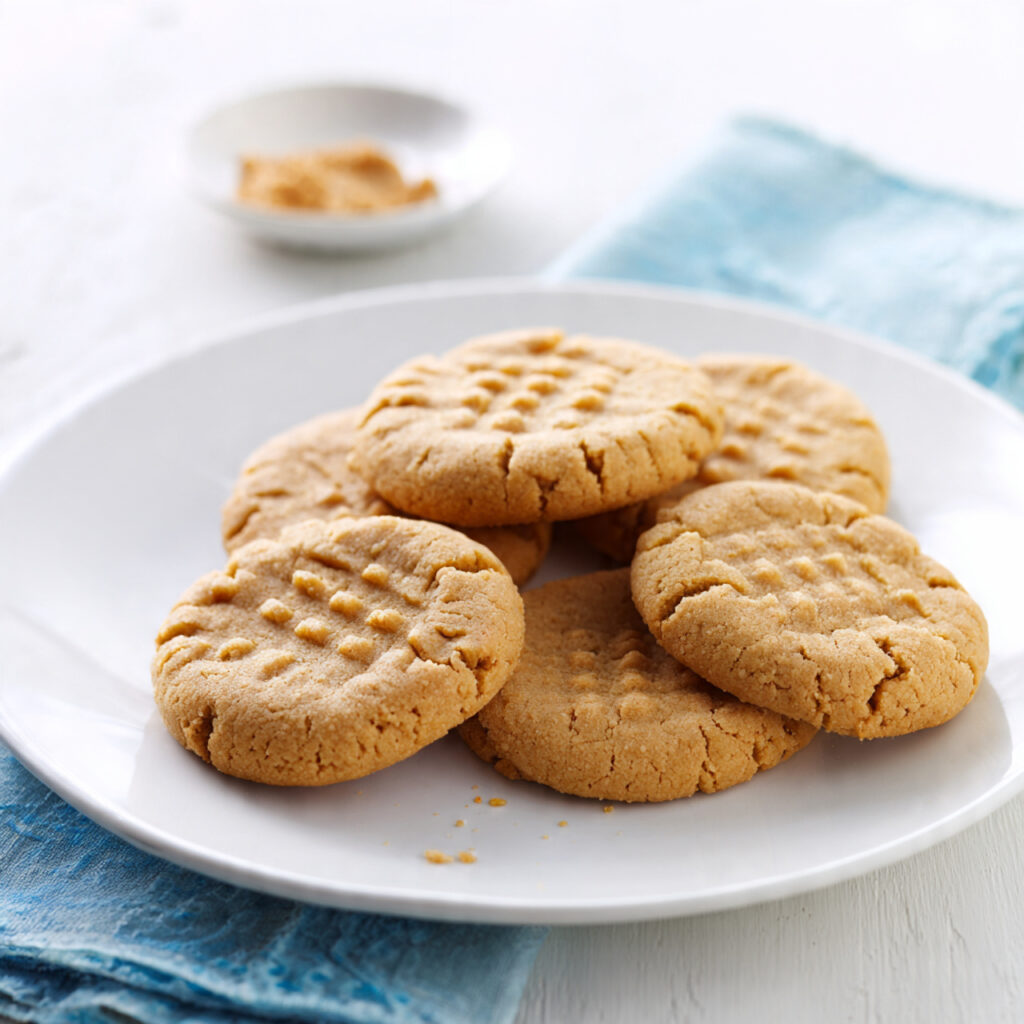
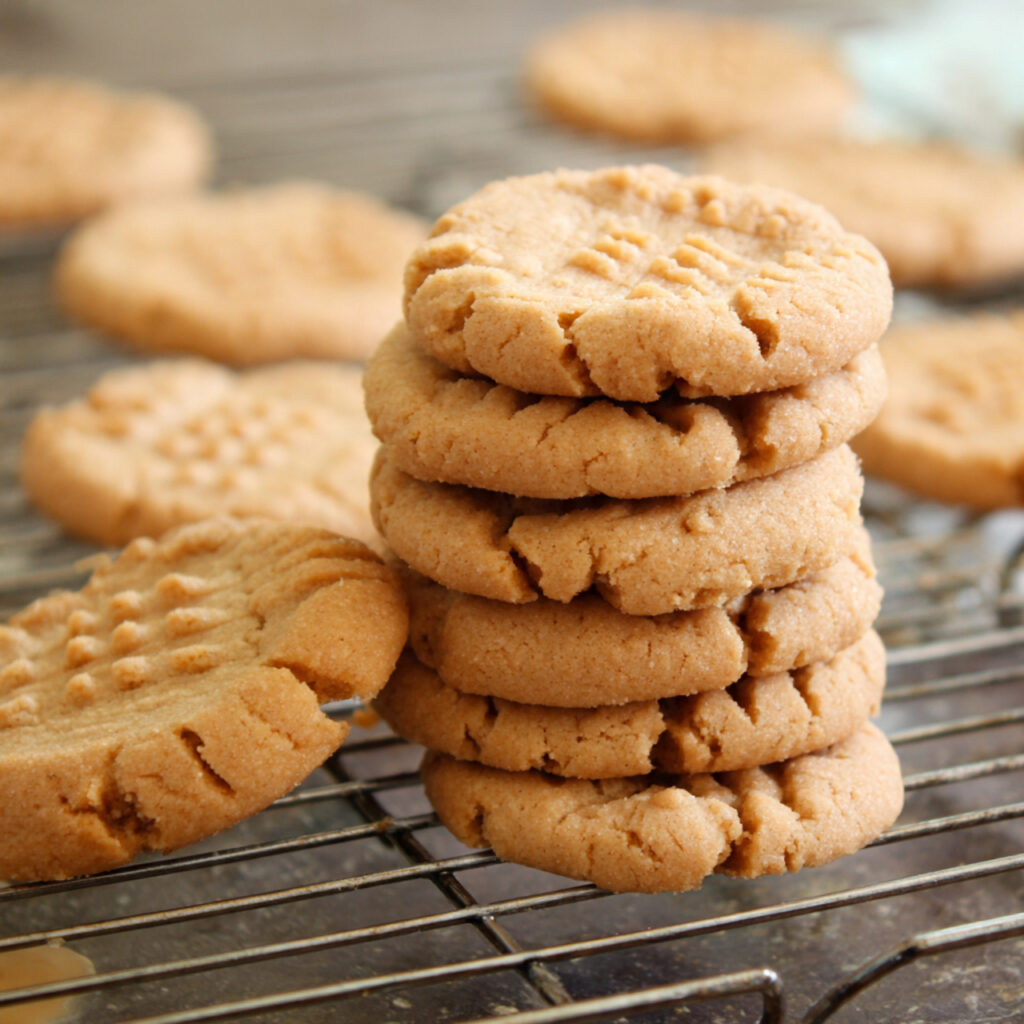
Peanut Butter Cookies are more than just a dessert—they’re a nostalgic journey back to childhood, a warm hug in cookie form, and quite possibly the easiest homemade treat you’ll ever make. Whether you’re a seasoned baker or someone who’s never turned on an oven, these cookies deliver that perfect balance of sweet and salty, with a tender, melt-in-your-mouth texture that keeps you reaching for just one more.
What makes peanut butter cookies so special? For starters, they require minimal ingredients—some versions need just three! The signature crisscross pattern pressed into each cookie isn’t just decorative; it’s a time-honored tradition that helps them bake evenly and signals to everyone that something delicious is coming out of the oven. The aroma alone—that intoxicating blend of toasted peanuts and caramelized sugar—is enough to draw people into your kitchen from rooms away.
In this comprehensive guide, I’ll walk you through everything you need to know about making perfect peanut butter cookies. From the simplest three-ingredient version to more elaborate variations with chocolate chips or a sprinkle of sea salt, you’ll discover the secrets that professional bakers use to achieve that ideal chewy center with slightly crispy edges. We’ll cover the science behind why these cookies work, troubleshoot common problems, and explore creative ways to customize this classic recipe to suit your taste preferences.
Whether you’re baking for a school bake sale, a holiday cookie exchange, or simply craving something sweet on a Tuesday afternoon, this peanut butter cookie recipe will become your go-to. Let’s dive into the delicious world of homemade peanut butter cookies and transform your kitchen into a bakery that rivals any you’ve visited.
Why This Peanut Butter Cookie Recipe Works
Before we get to the ingredients, let’s talk about what makes this particular recipe stand out. Unlike many cookie recipes that require you to cream butter for extended periods or chill dough overnight, peanut butter cookies are remarkably forgiving. The peanut butter itself provides both fat and protein, creating a tender crumb without the need for excessive butter. The natural oils in peanut butter also mean these cookies stay moist for days—if they last that long!
This recipe uses the perfect ratio of ingredients to create cookies that are:
- Chewy in the center with just the right amount of give
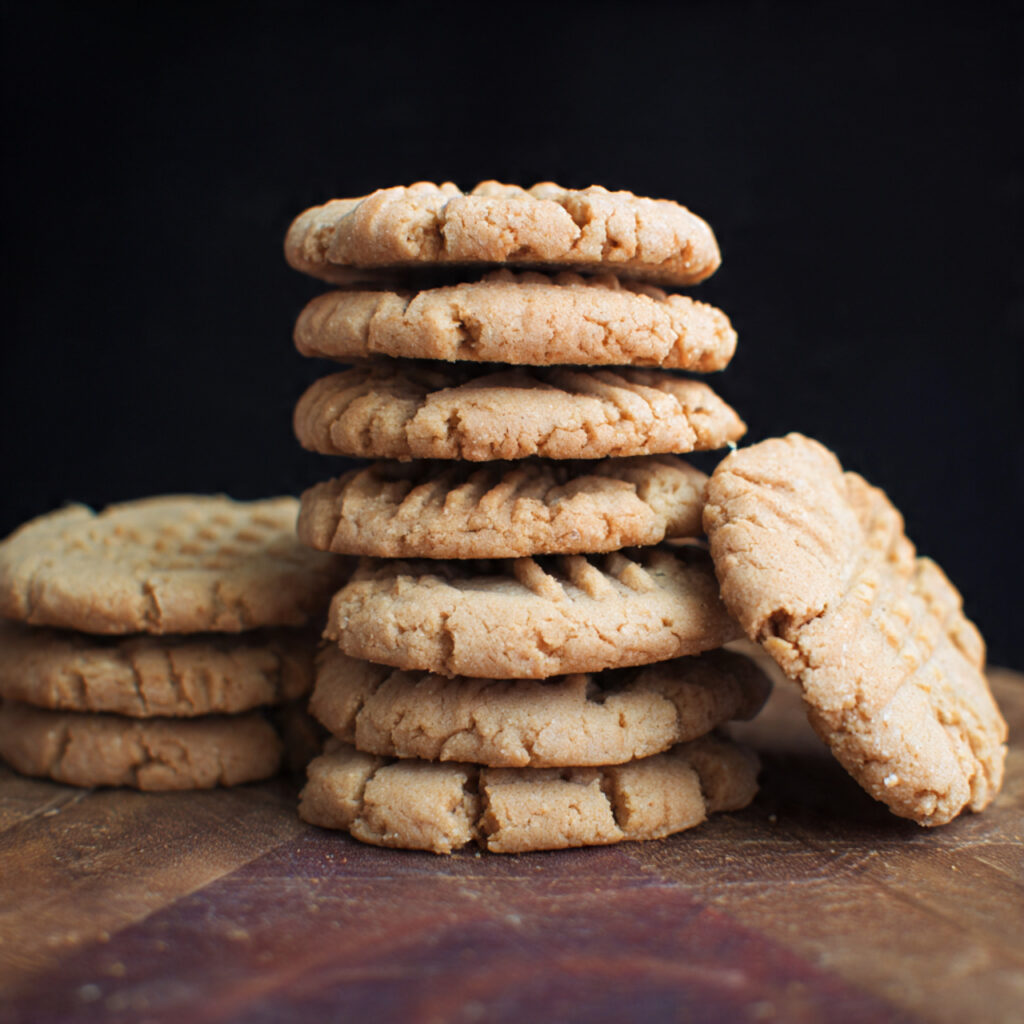
- Slightly crispy around the edges for textural contrast
- Rich in peanut butter flavor without being overwhelming
- Not too sweet so the nutty taste shines through
- Stable enough to hold their shape without spreading too thin
Ingredients for Perfect Peanut Butter Cookies
Essential Ingredients
For the Classic Version (makes about 24 cookies):
- 1 cup (250g) creamy peanut butter – Use a processed brand like Jif or Skippy for best results; natural peanut butter can make cookies crumbly
- 1 cup (200g) granulated sugar, plus extra for rolling
- 1 large egg – Brings everything together and provides structure
- 1 teaspoon pure vanilla extract – Enhances the overall flavor
- ½ teaspoon baking soda – Helps cookies rise slightly and creates tenderness
- ¼ teaspoon salt – Balances sweetness and enhances peanut flavor
Optional Add-Ins and Variations
- ½ cup (90g) chocolate chips – Semi-sweet or milk chocolate both work beautifully
- ¼ cup (50g) brown sugar – Replace some white sugar for chewier cookies
- Flaky sea salt – For sprinkling on top before baking
- 1 teaspoon cinnamon – Adds warmth to the flavor profile
- ½ cup chopped peanuts – For extra crunch and peanut intensity
- 2 tablespoons peanut butter chips – Double down on the peanut butter flavor
Ingredient Notes and Substitutions
Peanut Butter: The type of peanut butter you use dramatically affects your results. Processed, commercial peanut butter (the kind that doesn’t separate) works best because it has added stabilizers that help cookies hold their shape. Natural peanut butter, while healthier, contains more oil and less sugar, which can result in flat, crumbly cookies. If you must use natural peanut butter, reduce the sugar slightly and add 2 tablespoons of flour.
Sugar: Granulated white sugar creates the classic texture, but you can substitute up to half with light brown sugar for a chewier, more caramel-like flavor. Don’t use all brown sugar, or your cookies will spread too much.
Egg: This is the binder that holds everything together. For an egg-free version, try using a flax egg (1 tablespoon ground flaxseed mixed with 3 tablespoons water, let sit 5 minutes) or 3 tablespoons of aquafaba (chickpea liquid).
Step-by-Step Instructions for Baking Peanut Butter Cookies
Step 1: Prepare Your Workspace (5 minutes)
Preheat your oven to 350°F (175°C). Line two large baking sheets with parchment paper or silicone baking mats. Using parchment paper makes cleanup easier and prevents sticking without added grease. Position your oven racks in the upper and lower thirds of the oven for even baking.
Gather all your ingredients and measuring tools. Having everything at room temperature, especially the egg, ensures better incorporation and a smoother dough. Pour about ¼ cup of granulated sugar into a small shallow bowl—this will be for rolling your cookie dough balls.
Step 2: Mix the Dough (10 minutes)
In a large mixing bowl, combine the peanut butter and 1 cup of sugar. Using a wooden spoon or an electric mixer on medium speed, beat them together until well combined and slightly fluffy, about 2 minutes. The mixture should lighten in color slightly as you incorporate air.
Add the egg and vanilla extract, then beat again until completely smooth and uniform, about 1 minute. You shouldn’t see any streaks of egg white. The mixture will become glossier and more cohesive.
Sprinkle the baking soda and salt over the mixture, then stir until just combined. Don’t overmix at this stage—you want to distribute the leavening agent evenly without developing too much gluten, which could make cookies tough.
The dough should be thick, slightly sticky, and hold together when pressed. If it seems too dry (this can happen with certain peanut butter brands), add 1 teaspoon of milk or water. If it’s too wet and won’t hold a ball shape, refrigerate for 15 minutes.
Step 3: Shape the Cookies (10 minutes)
Using a cookie scoop or tablespoon, portion out dough into balls approximately 1 to 1.5 inches in diameter (about 2 tablespoons of dough each). Roll each portion between your palms to create smooth, uniform balls.
Roll each ball in the bowl of granulated sugar, coating all sides. This creates a slightly sparkly exterior and adds textural contrast. Place the sugar-coated balls on your prepared baking sheets, spacing them about 2 inches apart. These cookies don’t spread dramatically, but they need some room.
Step 4: Create the Signature Crisscross Pattern (5 minutes)
Using a fork, gently press down on each cookie ball to flatten it to about ½-inch thickness. Make one impression, then rotate the fork 90 degrees and press again, creating the classic crisscross pattern. This isn’t just decorative—it helps the cookies bake evenly by creating a uniform thickness.
Don’t press too hard or the cookies will be too thin and crispy. You want them to be flattened but still retain some height in the center.
Step 5: Bake to Perfection (10-12 minutes)
Place one baking sheet on the upper rack and one on the lower rack. Bake for 10-12 minutes, rotating the sheets and switching their positions halfway through baking (around the 6-minute mark). This ensures even browning.
The cookies are done when the edges are just beginning to turn golden brown and the centers still look slightly underdone. They’ll appear soft and puffy in the oven. This is exactly what you want—cookies continue to bake on the hot pan after you remove them from the oven, and they’ll firm up as they cool.
Visual cues to look for:
- Edges should be set and lightly golden
- Centers may look slightly moist but not raw
- Cookies will have puffed up slightly
- The crisscross pattern should be visible and slightly deeper
Step 6: Cool and Set (15 minutes)
Remove the baking sheets from the oven and let the cookies cool on the pan for 5 minutes. This rest period is crucial—if you try to transfer them immediately, they’ll break apart because they’re still very soft. As they sit on the hot pan, they continue to cook gently and firm up.
After 5 minutes, use a thin metal spatula to carefully transfer the cookies to a wire cooling rack. Let them cool completely, about 10 more minutes. They’ll continue to firm up as they cool, developing that perfect tender-chewy texture.
If you added chocolate chips, this cooling period allows the chocolate to set without being completely hard, giving you that perfect semi-melted chocolate experience.
Pro Tips for Perfect Peanut Butter Cookies Every Time
Temperature Control Is Everything
Room temperature ingredients incorporate more easily and create a more uniform dough. Take your egg out of the refrigerator 30 minutes before baking. If you forgot, place the whole egg (still in its shell) in a bowl of warm water for 5 minutes.
Your oven temperature matters more than you think. Invest in an oven thermometer if you don’t have one—many ovens run 25°F hotter or cooler than their displays indicate. An oven that’s too hot will burn the bottoms before the centers cook; too cool and your cookies will spread and become tough.
Don’t Skip the Fork Pattern
Beyond aesthetics, the crisscross pattern serves a practical purpose. Peanut butter cookie dough is quite dense and doesn’t spread much on its own. Flattening the cookies ensures they cook evenly throughout. Without this step, you’d end up with tall, undercooked centers and overcooked edges.
Measure Your Flour Correctly (If Using Enhanced Versions)
While the classic three-ingredient version doesn’t use flour, many variations do. If your recipe includes flour, measure it correctly: spoon flour into your measuring cup and level it off with a knife. Scooping directly from the bag compacts the flour, giving you up to 25% more than the recipe intended, resulting in dry, crumbly cookies.
The Underbake Technique
Professional bakers have a secret: slightly underbake. Cookies continue cooking on the hot pan even after leaving the oven (carryover cooking). By removing them when they look just barely done, you ensure they won’t become dry and crumbly. The centers should still look soft, even a tiny bit glossy.
Chill the Dough for Enhanced Flavor
While not required for this recipe, chilling the dough for 30 minutes before baking intensifies the flavors and can prevent excessive spreading. Chilled dough also creates a slightly thicker, chewier cookie. If you’re baking in batches, keep the remaining dough in the refrigerator between batches.
Use Quality Peanut Butter
The peanut butter is the star ingredient here, so use one you genuinely enjoy eating straight from the jar. Store brands work perfectly fine—in fact, processed peanut butter often yields better results than expensive natural varieties for this specific recipe.
Batch Baking Strategy
If baking multiple batches, let your baking sheets cool completely between batches. Placing dough on a hot pan causes it to start melting immediately, leading to over-spread cookies. Run the pan under cold water and dry it thoroughly, or have multiple pans ready to rotate.
Common Mistakes to Avoid When Making Peanut Butter Cookies
Mistake #1: Using Natural or Homemade Peanut Butter
While natural peanut butter is healthier, it contains only peanuts and salt—no added sugar or stabilizers. This means more oil separation and less structure in your cookies. The result? Flat, crumbly cookies that fall apart. Stick with processed brands like Jif, Skippy, or Peter Pan for foolproof results. If you absolutely must use natural peanut butter, stir it thoroughly, reduce sugar by 2 tablespoons, and add ¼ cup of all-purpose flour to the recipe.
Mistake #2: Overbaking
This is the number one cookie crime! Peanut butter cookies should never be baked until they’re completely firm. They’ll look underdone when you remove them from the oven, and that’s perfect. Overbaked peanut butter cookies become dry, hard, and crumbly instead of tender and chewy. Remember: they continue baking on the hot pan after removal from the oven.
Mistake #3: Overmixing the Dough
Once you add the baking soda and salt, mix just until incorporated. Overmixing develops gluten in the small amount of protein present, leading to tough, cakey cookies instead of tender ones. Use a gentle hand and stop mixing as soon as you no longer see streaks of ingredient.
Mistake #4: Making Cookies Too Large or Too Small
Size consistency matters for even baking. If you make some cookies large and others small, the small ones will burn while the large ones remain underdone. Use a cookie scoop or measure out dough with a tablespoon to ensure uniformity. Standard size is about 2 tablespoons of dough per cookie.
Mistake #5: Skipping the Sugar Roll
Rolling the dough balls in sugar before pressing creates that beautiful sparkly exterior and adds textural contrast. It’s not just decorative—it also prevents the dough from sticking to your fork when creating the crisscross pattern. Don’t skip this step!
Mistake #6: Not Rotating the Pans
Ovens have hot spots—areas that run hotter than others. If you don’t rotate your pans halfway through baking, some cookies will be perfectly done while others are burnt. Set a timer for the halfway point and take 10 seconds to rotate and switch your pans.
Mistake #7: Using Cold Eggs
A cold egg doesn’t incorporate smoothly into the peanut butter mixture, leading to a lumpy, uneven dough. Small pockets of egg white can create tough spots in your cookies. Always use room temperature eggs for the smoothest dough and most uniform texture.
Mistake #8: Storing Incorrectly
Storing peanut butter cookies while they’re still warm creates condensation, making them soggy. Always let cookies cool completely before storing. Additionally, don’t store them with other cookie varieties—they’ll absorb moisture and flavors from other cookies.
Storage and Serving Suggestions for Peanut Butter Cookies
Room Temperature Storage
Peanut butter cookies stay fresh at room temperature for up to one week when stored properly. Place cooled cookies in an airtight container, separating layers with parchment paper to prevent sticking. Keep the container in a cool, dry place away from direct sunlight.
For maximum freshness, add a slice of bread to the container. The cookies will absorb moisture from the bread, keeping them soft and chewy. Replace the bread slice every couple of days.
Refrigerator Storage
While not necessary for short-term storage, refrigerating peanut butter cookies can extend their shelf life to about two weeks. Store them in an airtight container or resealable plastic bag. Let them come to room temperature before serving for the best texture and flavor.
The cold actually enhances these cookies—some people prefer them chilled! They develop a firmer, more substantial texture that’s perfect with coffee or tea.
Freezing for Long-Term Storage
Peanut butter cookies freeze exceptionally well for up to 3 months. For best results:
Freezing Baked Cookies:
- Let cookies cool completely
- Arrange in a single layer on a baking sheet
- Freeze until solid (about 2 hours)
- Transfer to a freezer-safe container or bag, removing as much air as possible
- Label with the date
To thaw: Remove desired amount and let sit at room temperature for 20-30 minutes. For a fresh-baked taste, warm them in a 300°F oven for 5 minutes.
Freezing Cookie Dough:
- Shape dough into balls
- Roll in sugar and create crisscross pattern
- Place on a parchment-lined baking sheet
- Freeze until solid
- Transfer to a freezer bag
To bake from frozen: Add 2-3 minutes to the baking time. No need to thaw!
Creative Serving Suggestions
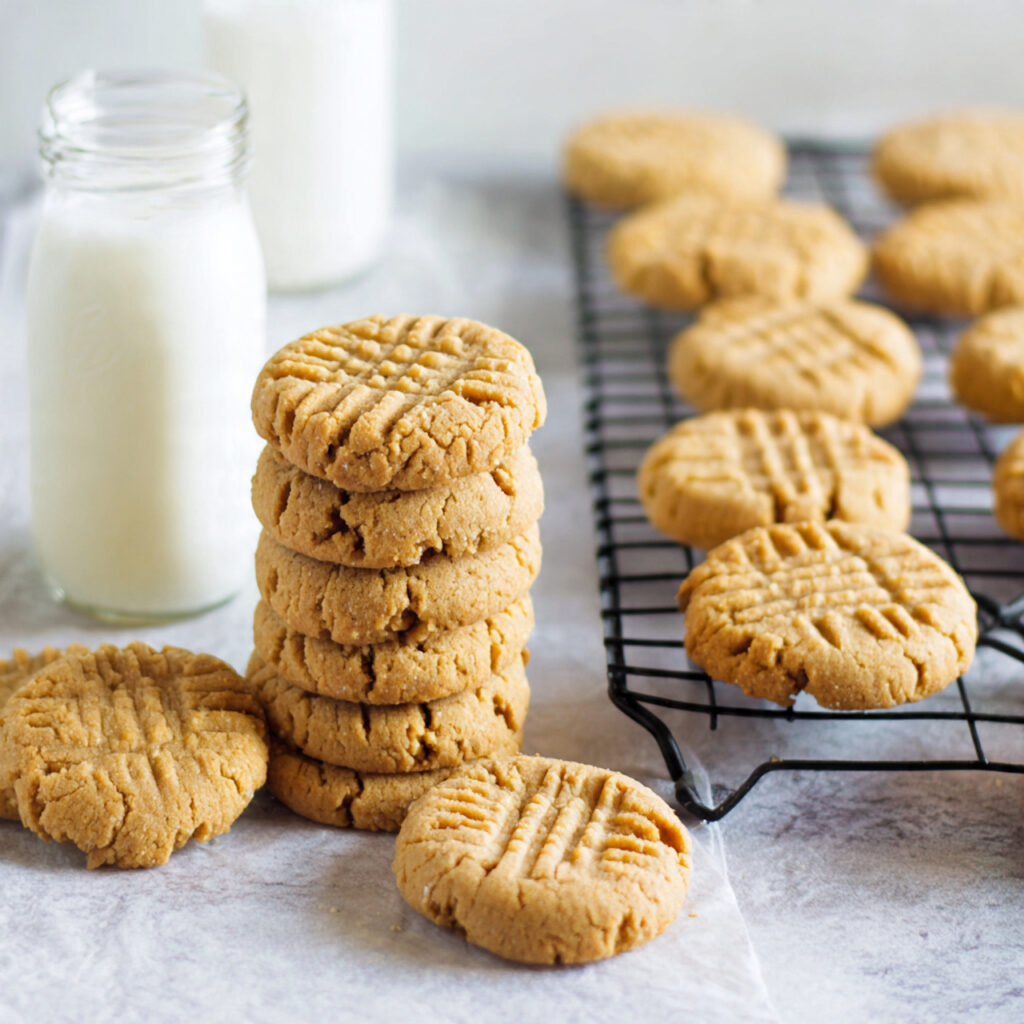
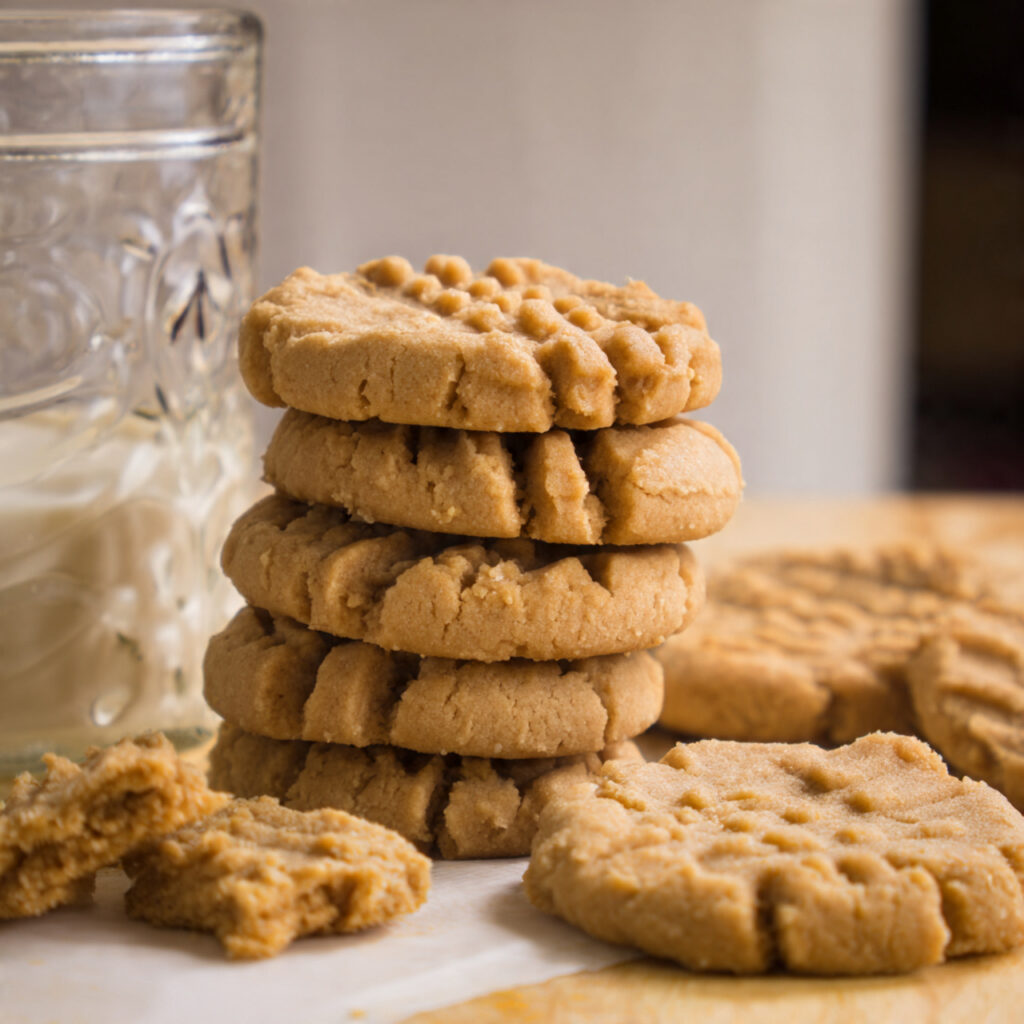
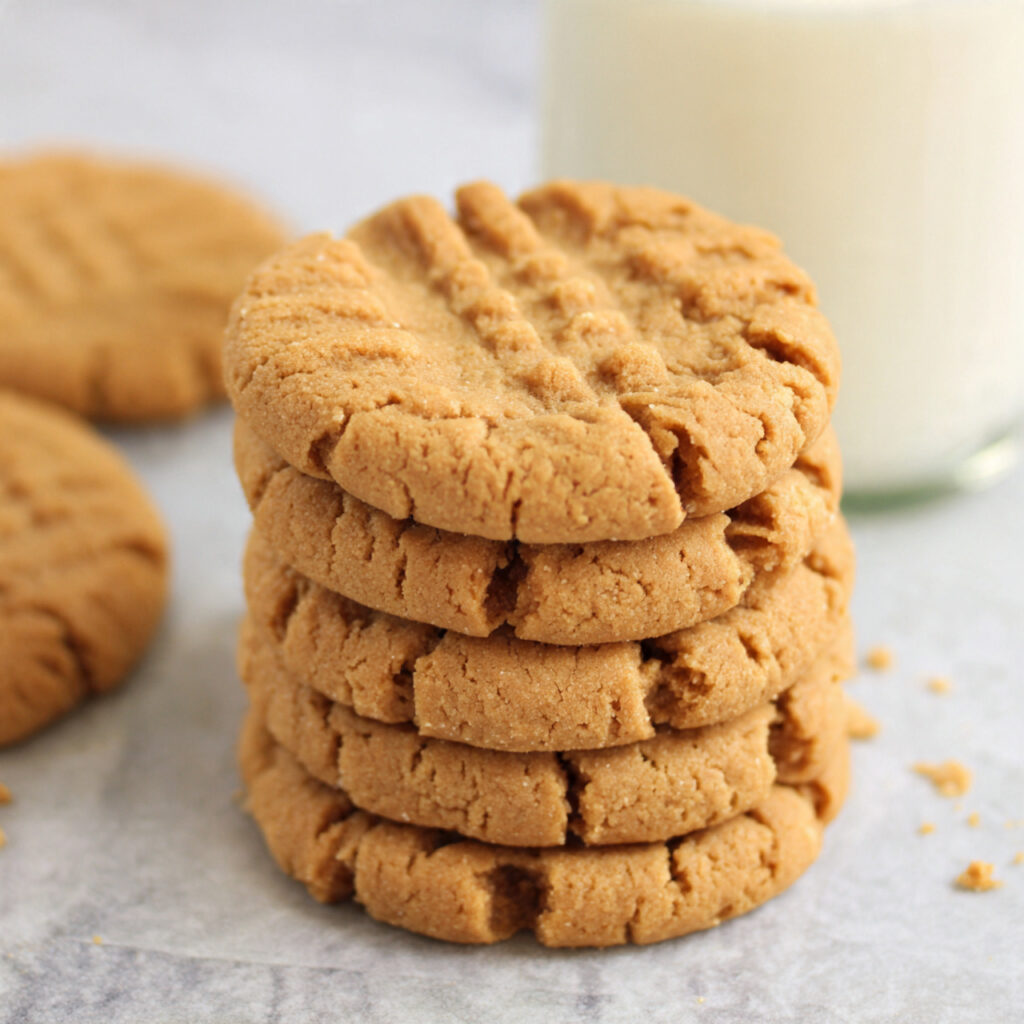
Classic Style: Serve with a cold glass of milk—the timeless pairing that never disappoints.
Ice Cream Sandwiches: Place a scoop of vanilla ice cream between two cookies, gently press together, and roll the edges in mini chocolate chips. Wrap individually and freeze for an upgraded summer treat.
Cookie Butter Spread: Crumble cookies and blend with a bit of melted butter and a pinch of salt to create a spreadable cookie butter for toast or apple slices.
Dessert Plating: Serve warm cookies with a scoop of ice cream, drizzle of chocolate sauce, and a sprinkle of flaky sea salt for an elegant dessert presentation.
Gift Packaging: Stack cookies in clear cellophane bags tied with ribbon for beautiful, homemade gifts. They ship well and stay fresh for days.
Cookie Crumbles: Crush leftover cookies and use as a topping for yogurt, ice cream, or incorporate into a cheesecake crust.
Frequently Asked Questions About Peanut Butter Cookies
Can I make peanut butter cookies without eggs?
Yes! For egg-free peanut butter cookies, substitute the egg with one of these options:
- Flax egg: Mix 1 tablespoon ground flaxseed with 3 tablespoons water, let sit 5 minutes until thick
- Aquafaba: Use 3 tablespoons of chickpea liquid (the liquid from a can of chickpeas)
- Applesauce: Use 3 tablespoons of unsweetened applesauce (cookies will be slightly cakier)
The three-ingredient version (just peanut butter, sugar, and egg) works beautifully with egg substitutes, making it accessible for vegan bakers. The texture will be slightly different but still delicious.
Why are my peanut butter cookies crumbly and falling apart?
Crumbly cookies usually result from one of these issues:
- Using natural peanut butter with too much oil separation
- Not enough moisture in the dough—make sure you’re measuring accurately
- Overbaking—dried-out cookies crumble easily
- Not letting them cool properly on the pan before transferring
To fix crumbly dough before baking, add 1-2 teaspoons of milk or water and mix gently. The dough should hold together when pressed.
Can I use crunchy peanut butter instead of creamy?
Absolutely! Crunchy peanut butter adds wonderful texture with bits of peanuts throughout. The cookies will have a slightly more rustic appearance and extra crunch. The recipe works exactly the same way—no adjustments needed. Just know that the dough will be slightly more textured and the cookies won’t be quite as smooth.
How do I make my peanut butter cookies chewier?
For extra-chewy cookies, try these techniques:
- Replace ¼ cup of white sugar with brown sugar (the molasses adds moisture)
- Slightly underbake by 1-2 minutes
- Add 1 tablespoon of honey or corn syrup to the dough
- Let the dough rest in the refrigerator for 30 minutes before baking
- Store cookies with a slice of bread to maintain moisture
The key to chewiness is moisture retention, so proper baking time and storage are critical.
Why don’t my peanut butter cookies have the cracked top?
The signature cracked appearance comes from proper oven temperature and the right dough consistency. If your cookies aren’t cracking:
- Your oven might be too cool—use an oven thermometer
- The dough might have too much moisture—reduce liquids slightly
- You might be flattening them too much with the fork
Don’t worry too much about cracks, though—they’re more common in recipes with flour. The flavor and texture matter most!
Can I add chocolate chips to peanut butter cookies?
Yes! Peanut butter and chocolate are a match made in heaven. Fold in ½ to ¾ cup of chocolate chips after mixing the dough. Semi-sweet, milk chocolate, or even dark chocolate chips all work beautifully. You can also press a few chocolate chips on top of each cookie before baking for a prettier presentation.
For peanut butter cup cookies, press a miniature Reese’s cup into the center of each cookie immediately after removing from the oven. The heat will soften the candy just enough to settle into the cookie.
How can I make gluten-free peanut butter cookies?
Great news—the classic three-ingredient version (peanut butter, sugar, egg) is naturally gluten-free! Just ensure your peanut butter doesn’t contain any hidden gluten ingredients (most don’t). This makes peanut butter cookies one of the most accessible treats for gluten-free diets.
If you’re using a recipe variation that includes flour, substitute with a 1:1 gluten-free baking flour blend. The texture will be nearly identical.
What’s the secret to getting the edges crispy while keeping the centers soft?
This perfect texture contrast comes from:
- Proper oven temperature (350°F is ideal—not hotter)
- Correct baking time (10-12 minutes, no more)
- Using granulated sugar for the exterior
- Not overbaking—remove when centers still look slightly underdone
- Cooling on the pan for 5 minutes before transferring
The edges cook faster because they’re exposed to more heat, while the centers stay protected and moist. This natural gradient is what creates that ideal texture.
Conclusion: Your New Go-To Cookie Recipe
Peanut Butter Cookies represent everything wonderful about home baking—they’re simple, reliable, and incredibly satisfying. With just a handful of ingredients and about 30 minutes from start to finish, you can fill your home with the irresistible aroma of freshly baked cookies and create memories that last far longer than the treats themselves.
What makes this recipe truly special is its versatility and forgiveness. Whether you’re baking with kids who want to help press the fork patterns, rushing to bring something to a last-minute potluck, or simply craving something sweet on a quiet evening, these cookies deliver every single time. The minimal ingredient list means you likely have everything on hand right now, and the straightforward method means there’s very little that can go wrong.
As you continue to make these cookies, you’ll develop your own preferences—maybe you’ll love them with a sprinkle of flaky sea salt, or perhaps you’ll become devoted to the chocolate chip version. You might discover that your oven runs hot and needs 10 minutes instead of 12, or that you prefer them chilled straight from the refrigerator. These personal tweaks and discoveries are what make a recipe truly yours.
Remember, the best peanut butter cookies aren’t necessarily the ones that look perfect or could win a baking competition—they’re the ones made with care, shared with people you love, and enjoyed in those everyday moments that make life sweet. So preheat that oven, grab your peanut butter, and get ready to bake something wonderful.
Happy baking, and may your cookie jar never be empty!
Print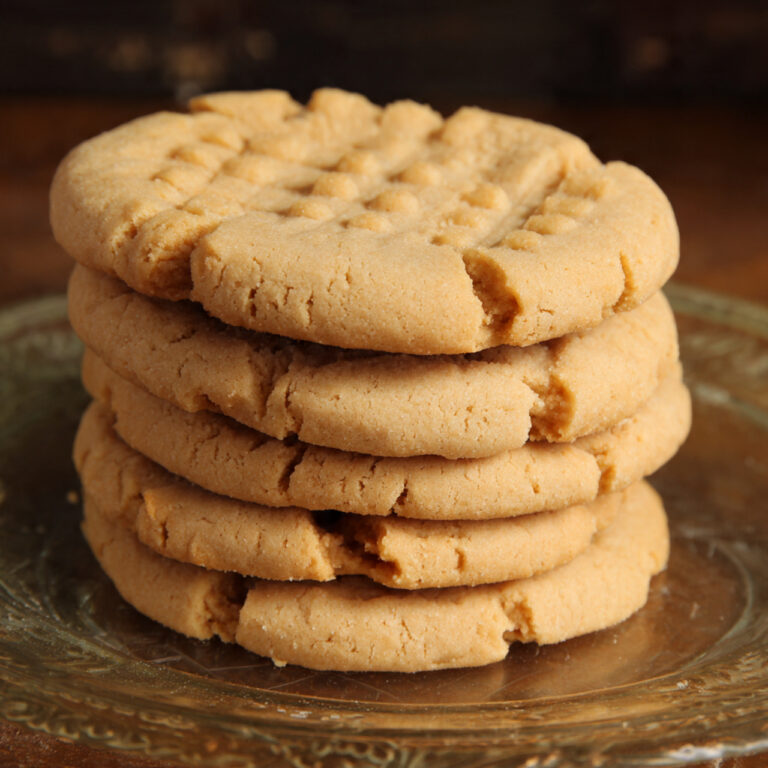
Peanut Butter Cookies Recipe (3 Ingredients!) – Easy & Delicious
These Classic Peanut Butter Cookies are incredibly easy to make with just a few simple ingredients. They’re perfectly chewy with slightly crispy edges, packed with rich peanut butter flavor, and featuring the iconic crisscross pattern that makes them instantly recognizable. Whether you stick with the simple three-ingredient version or dress them up with chocolate chips, these cookies are guaranteed to become a household favorite.
- Total Time: 27 minutes
- Yield: 24 cookies
Ingredients
- 1 cup (250g) creamy peanut butter (use processed brands, not natural)
- 1 cup (200g) granulated sugar, plus ¼ cup for rolling
- 1 large egg, room temperature
- 1 teaspoon pure vanilla extract (optional but recommended)
- ½ teaspoon baking soda
- ¼ teaspoon salt
- Optional: ½ cup chocolate chips, flaky sea salt for topping
Instructions
- Preheat & Prepare: Preheat oven to 350°F (175°C). Line two baking sheets with parchment paper. Pour ¼ cup sugar into a small bowl for rolling.
- Mix Dough: In a large bowl, beat together peanut butter and 1 cup sugar until well combined and slightly fluffy, about 2 minutes. Add egg and vanilla, beat until smooth and glossy. Sprinkle baking soda and salt over mixture, stir just until combined.
- Shape Cookies: Scoop dough into 1.5-inch balls (about 2 tablespoons each). Roll each ball in the bowl of sugar to coat completely. Place on prepared baking sheets, spacing 2 inches apart.
- Create Pattern: Using a fork, press down on each cookie ball to flatten to ½-inch thickness. Rotate fork 90 degrees and press again, creating a crisscross pattern.
- Bake: Bake for 10-12 minutes, rotating pans halfway through. Cookies should have lightly golden edges while centers still look slightly soft. Don’t overbake!
- Cool: Let cookies cool on baking sheet for 5 minutes, then transfer to a wire rack to cool completely. Cookies will firm up as they cool.
Notes
- Peanut Butter Type: Processed, commercial peanut butter (like Jif or Skippy) works best. Natural peanut butter can make cookies crumbly.
- Don’t Overbake: Cookies should look slightly underdone when you remove them. They continue cooking on the hot pan.
- Storage: Store in an airtight container at room temperature for up to 1 week, or freeze for up to 3 months.
- Make Ahead: Dough can be shaped, frozen on a baking sheet, then stored in freezer bags. Bake from frozen, adding 2-3 minutes to baking time.
- Chocolate Variation: Fold in ½ cup chocolate chips after mixing dough, or press chocolate chips on top before baking.
- Prep Time: 15 minutes
- Cook Time: 12 minutes
- Category: Desserts
- Method: Baking
- Cuisine: American
- Diet: Vegetarian


3 Comments
[…] bite, you’ve found it. These festive pretzels combine the perfect balance of sweet and salty, featuring creamy white chocolate, crunchy pretzel twists, and vibrant pastel candies that scream springtime […]
[…] classic jello shots into spring-themed delights with pastel colors, fun garnishes, and creative presentations perfect for Easter gatherings. These boozy, wobbly bites combine nostalgia with sophistication, […]
[…] moments that make holidays meaningful. The process of transforming simple ingredients into festive cupcakes brings joy that extends far beyond the final […]