Irresistible Red Velvet Birthday Cake Recipe | Soft, Moist & Perfect for Celebrations
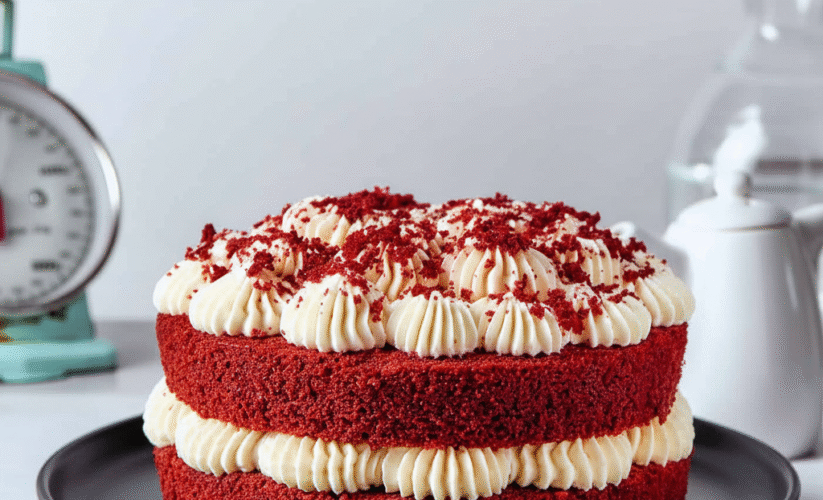
There’s something magical about a red velvet birthday cake. It’s dramatic. It’s nostalgic. And honestly, it just makes people smile. Every time I bake one, I feel like I’m bringing a little celebration into the kitchen, even if it’s not technically anyone’s birthday.
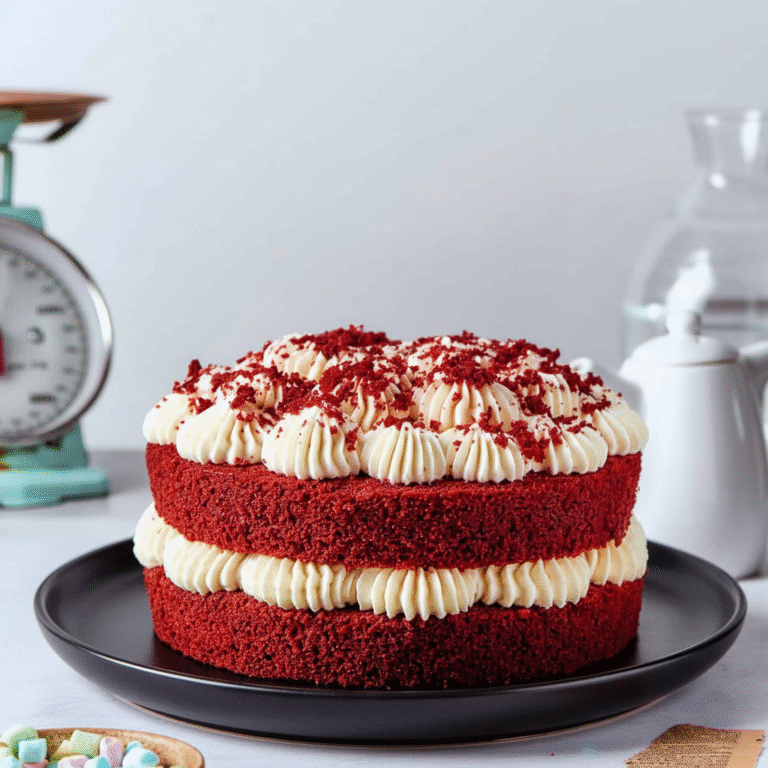
What I love most about this cake is how simple it is to make, especially considering how stunning the final result looks. It’s soft, moist, velvety, and topped with the most luscious cream cheese frosting. And when that bright red crumb meets the creamy white frosting? It’s perfection.
If you’re looking for a cake that feels special but doesn’t demand expert-level baking skills, this red velvet birthday cake is the one. Let me walk you through exactly how I make it, with all the little tips I’ve learned over the years.
Why Red Velvet Birthday Cake Is Always a Showstopper
I’ve baked this cake for birthdays, anniversaries, holidays, and even on random Sundays when the craving hits. It always gets the same reaction: wide eyes and a little gasp. The kind that makes you feel like a kitchen magician.
Here’s why it stands out:
- The color is bold and beautiful.
- The texture is soft and velvety.
- The flavor is subtle but addictive.
- The frosting makes everything taste luxurious.
- It looks professional but is surprisingly easy to make.
That’s the secret. Red velvet looks complicated, but it isn’t. Once you understand the few ingredients that make it unique, it becomes one of the easiest cakes to bake.
Click here to get your Typhur Dome 2 AI now
What Makes a Red Velvet Cake “Red Velvet”?
A lot of people think red velvet is just a chocolate cake dyed red. Not true.
Real red velvet has:
A mild cocoa flavor
Enough to give depth, but not enough to taste like chocolate cake.
A tender crumb
Thanks to buttermilk and vinegar. They react with cocoa and baking soda to create that soft, velvety texture.
A bright red interior
Traditionally, the reaction of cocoa and acid created a reddish tint. Today, we help it along with food coloring.
Cream cheese frosting
The perfect balance of tangy and sweet. It’s essential.
Put these together and you get a cake that’s elegant, balanced, and irresistible.
Ingredients You Need for the Perfect Red Velvet Birthday Cake
Let’s talk about the ingredients. They’re simple, but each one matters.
Dry Ingredients
- All-purpose flour
- Granulated sugar
- Baking soda
- Fine salt
- Cocoa powder (just a little)
Wet Ingredients
- Vegetable oil
- Buttermilk
- Eggs
- White vinegar
- Vanilla extract
- Red food coloring gel
For the Cream Cheese Frosting
- Cream cheese
- Butter
- Powdered sugar
- Vanilla
- Pinch of salt
Everything is easy to find. Nothing is fancy or expensive. And the combination creates magic.
How to Make Red Velvet Birthday Cake (Step-by-Step)
This cake comes together in a few simple steps. If you follow these, you’ll get a tall, soft, bakery-style cake every time.
1. Prepare the cake batter
Preheat your oven to 350°F (180°C).
Grease and line two 8-inch round cake pans.
In one bowl:
- Mix flour.
- Add sugar.
- Stir in baking soda, salt, and cocoa powder.
- Whisk until smooth and evenly combined.
In another bowl:
- Whisk the oil, eggs, and buttermilk.
- Add vanilla and vinegar.
- Add red food coloring until the color looks vibrant.
Pour the wet mixture into the dry ingredients. Mix until the batter is smooth.
Do not overmix. This is key to keeping your red velvet birthday cake tender.
2. Bake the cake layers
Divide the batter between the two pans.
Bake for 25–30 minutes, or until a toothpick comes out clean.
Let the cake cool for 10 minutes in the pans, then remove and let cool fully.
One of the secrets to decorating cakes easily?
Never frost a warm cake.
Cold cake + soft frosting = clean layers.
3. Make the cream cheese frosting
Beat the cream cheese and butter until fluffy.
Add powdered sugar in stages.
Finish with vanilla and a pinch of salt.
You want the frosting soft, but not runny.
If it feels too loose, refrigerate it for 10 minutes.
4. Assemble your red velvet birthday cake
Make sure the layers are completely cool.
- Level the tops if needed.
- Add frosting on the first layer.
- Place the second layer on top.
- Crumb coat the entire cake (a thin layer of frosting that traps crumbs).
- Chill 10–15 minutes.
- Add the final thick layer of frosting.
Decorate with sprinkles, crumbs, or piped frosting edges.
At this point, the cake already looks like a celebration.

Personal Tips That Make a Huge Difference
Over the years, I’ve found a few small tricks that make this red velvet birthday cake even better:
Use gel coloring
It gives a deeper red without changing the batter’s texture.
Use room-temperature ingredients
Especially for the eggs and buttermilk.
The batter mixes more evenly.
Weigh your flour
Too much flour makes the cake dense.
If you don’t weigh it, spoon it into the cup and level it.
Chill the cake before slicing
It keeps the layers sharp and clean.
Don’t skip the vinegar
It reacts with the cocoa and buttermilk to create the signature “velvet” texture.
Add a bit of simple syrup if needed
Brush the layers lightly if you want extra moisture.
These small steps take this cake from “good” to “wow.”
Red Velvet Birthday Cake Variations
This recipe is perfect as-is, but I love tweaking it depending on the occasion.
Make it a 3-layer cake
Use three 6-inch pans for an elegant tall cake.
Turn it into cupcakes
They bake in about 18 minutes.
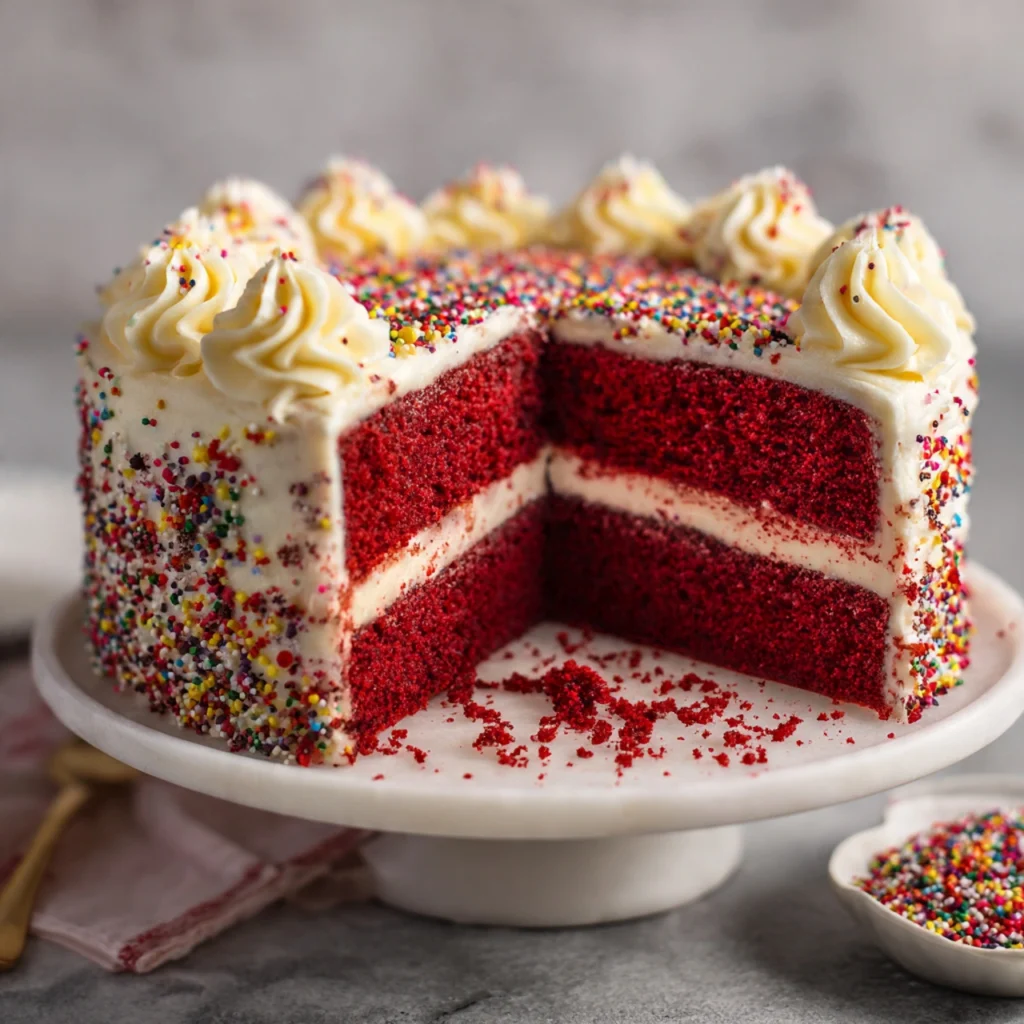
Make it extra festive
Add rainbow sprinkles between the layers.
Add a chocolate drip
It looks stunning against the red.
Make it heart-shaped
Perfect for Valentine’s Day or anniversaries.
The base recipe is solid, so feel free to play with it.
Why This Cake Is Perfect for All Skill Levels
Baking can be intimidating, but this red velvet birthday cake is incredibly forgiving.
You don’t need fancy equipment.
You don’t need years of baking experience.
You just need a few bowls, simple ingredients, and a little patience.
It’s ideal for:
- Beginners
- Busy moms
- People baking for celebrations
- Kids who want to help in the kitchen
- Anyone who wants a wow-factor cake without stress
The steps are simple. The flavors are balanced. And the presentation is naturally beautiful.
How to Store and Freeze the Cake
This is another reason I love making red velvet cakes—they store really well.
To store the whole cake
Refrigerate for up to 4 days.
Cover lightly to prevent drying.
To store slices
Keep slices in airtight containers.
To freeze
Wrap the unfrosted cake layers individually and freeze for up to 2 months.
Frost only when thawed.
The texture stays soft and velvety even after freezing.
What to Serve with Red Velvet Birthday Cake
This cake is rich and smooth, so lighter sides pair beautifully:
- Fresh berries
- Vanilla ice cream
- Hot coffee
- Milk for kids
- A fruity dessert drink
You don’t need much. The cake is the star.
Common Questions About Red Velvet Birthday Cake
Why is vinegar used in red velvet cake?
It reacts with cocoa and baking soda to create a soft, tender texture.
Can I use liquid food coloring instead of gel?
Yes, but you’ll need more. Gel creates deeper color.
Can I replace buttermilk?
Yes — mix 1 cup milk + 1 tbsp vinegar or lemon juice.
Let sit for 5 minutes.
Why does my cake look dull?
Probably not enough coloring or too much flour.
Can I make this cake the day before?
Yes. It actually tastes better the next day.

Final Thoughts: A Red Velvet Birthday Cake That Brings People Together
Every time I bake this red velvet birthday cake, it reminds me why certain recipes never go out of style. It’s classic. It’s beautiful. It’s unbelievably soft. And it always feels special, even when you’re just baking for fun.
It’s the kind of cake that makes people gather around the table a little faster.
The kind of cake that makes any birthday feel more memorable.
And the kind of cake that absolutely deserves a spot in your recipe collection.
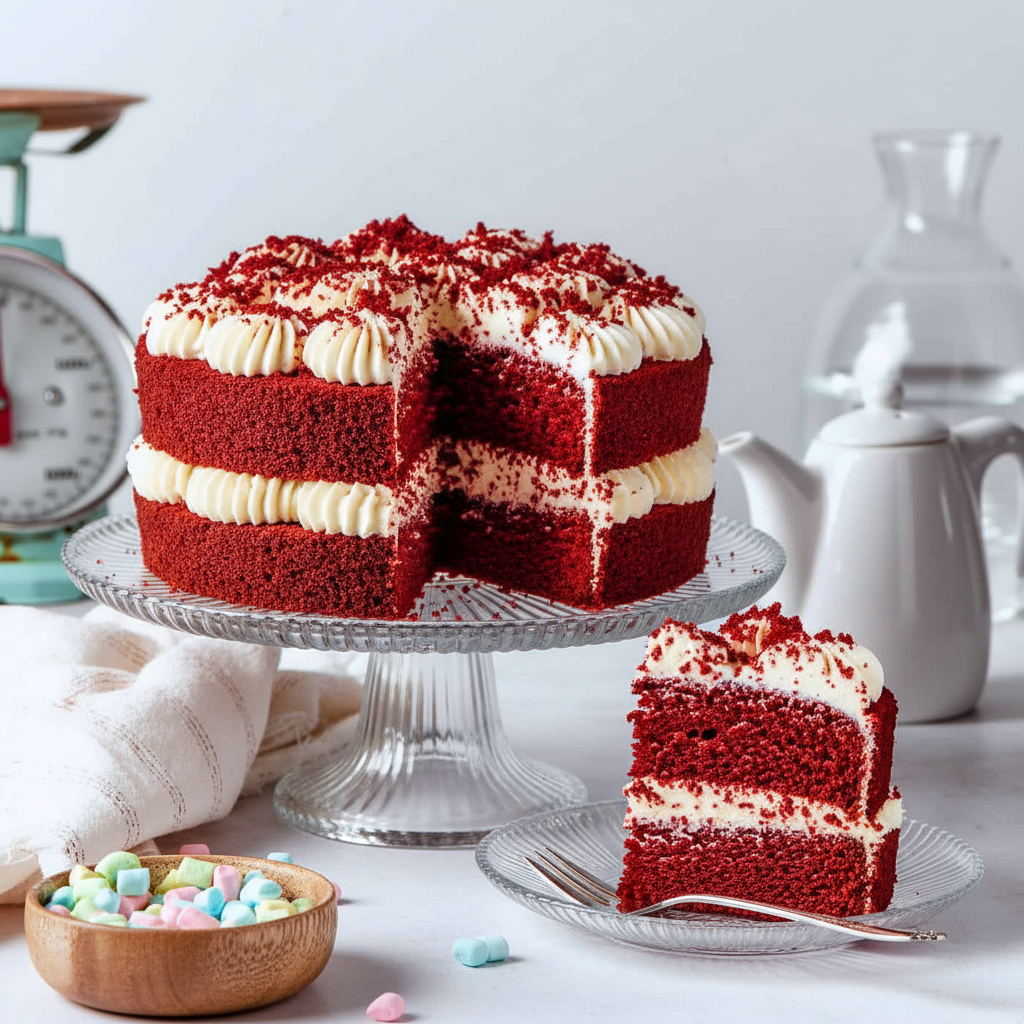
Red Velvet Birthday Cake – A Soft, Dreamy Cake Perfect for Every Celebration
This Red Velvet Birthday Cake is rich, soft, and topped with luscious cream cheese frosting. With a vibrant red crumb and velvety texture, it’s the perfect showstopper for birthdays, holidays, or just because. Easy to make, gorgeous to serve, and guaranteed to wow.
- Total Time: 50 minutes
- Yield: 12 slices
Ingredients
- Dry Ingredients:
- 2 ½ cups all-purpose flour
- 1 ½ cups granulated sugar
- 1 teaspoon baking soda
- ½ teaspoon fine salt
- 2 tablespoons unsweetened cocoa powder
- Wet Ingredients:
- 1 cup vegetable oil
- 1 cup buttermilk (room temperature)
- 2 large eggs (room temperature)
- 1 tablespoon white vinegar
- 2 teaspoons vanilla extract
- 1 tablespoon red food coloring gel (or more for deeper color)
- Cream Cheese Frosting:
- 8 oz cream cheese (softened)
- ½ cup unsalted butter (softened)
- 3–3½ cups powdered sugar
- 1 teaspoon vanilla extract
- Pinch of salt
Instructions
- Prep: Preheat oven to 350°F (180°C). Grease and line two 8-inch round cake pans with parchment. Set aside.
- Make the batter: In a large bowl, whisk flour, sugar, baking soda, salt, and cocoa powder. In a separate bowl, whisk oil, eggs, buttermilk, vinegar, vanilla, and food coloring. Pour wet ingredients into dry and stir until smooth. Do not overmix.
- Bake: Divide batter between the prepared pans. Bake for 25–30 minutes or until a toothpick comes out clean. Cool in pans 10 minutes, then transfer to a wire rack to cool completely.
- Make the frosting: Beat cream cheese and butter until creamy. Add powdered sugar gradually, then mix in vanilla and a pinch of salt. If frosting is too soft, chill for 10 minutes.
- Assemble: Level cooled cake layers if needed. Add frosting between layers, then crumb coat the entire cake. Chill 10–15 minutes, then apply final thick layer of frosting. Decorate as desired with sprinkles or red velvet crumbs.
Notes
Use gel food coloring for vibrant color without thinning the batter. Don’t skip vinegar—it reacts with the cocoa and buttermilk to create the velvet texture. Chill the cake before slicing for cleaner cuts. For cupcakes, reduce baking time to 18–20 minutes. Cake layers can be frozen unfrosted for up to 2 months.
- Prep Time: 20 minutes
- Cook Time: 30 minutes
- Category: Dessert / Cake
- Method: Baking
- Cuisine: American