Chocolate Peanut Butter Cups Recipe (Better Than Store-Bought!)
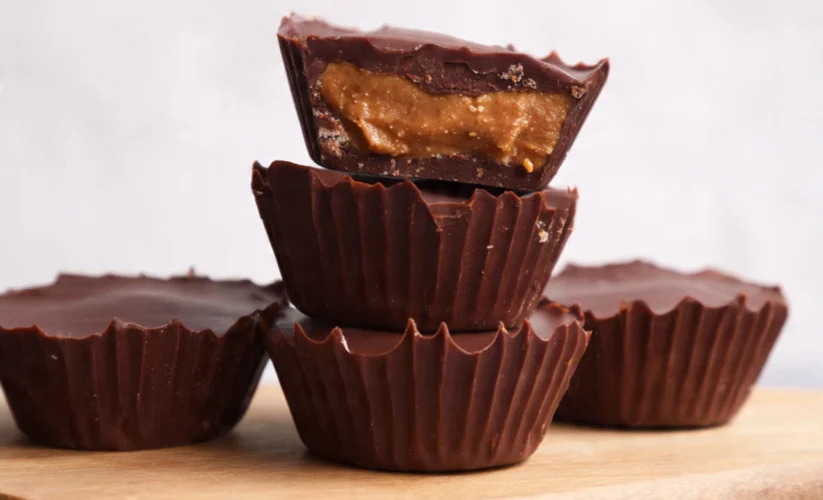
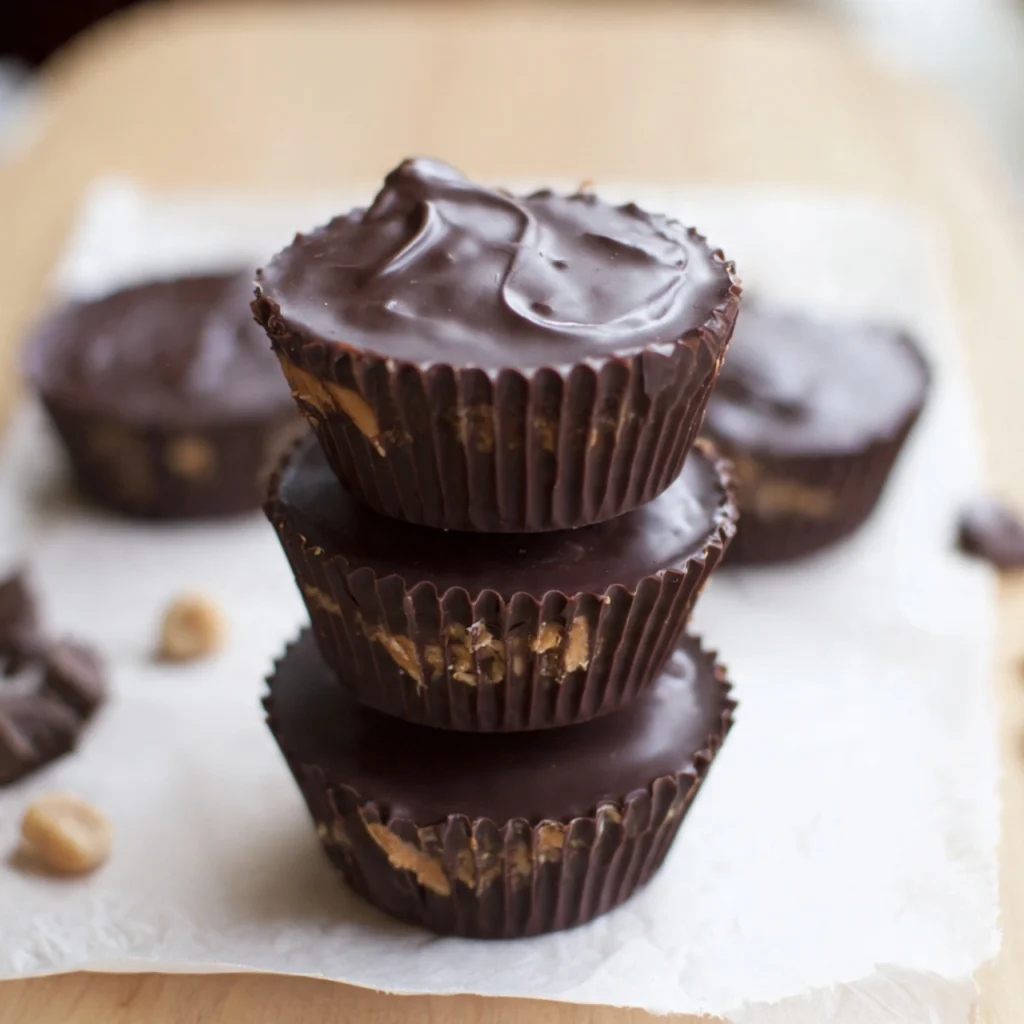
Chocolate Peanut Butter Cups are the ultimate homemade treat that combines rich, velvety chocolate with creamy peanut butter filling in perfect harmony. If you’ve ever craved that iconic candy but wanted a fresher, more natural version without all the processed ingredients, you’re in for a delightful surprise. These homemade peanut butter cups are incredibly easy to make, require no baking, and taste remarkably better than anything you’ll find at the store.
I’ll be honest with you—once I discovered how simple it is to make chocolate peanut butter cups at home, I stopped buying the packaged version altogether. There’s something magical about biting into a cup you’ve made yourself, knowing exactly what went into it. The chocolate is smoother, the peanut butter filling is creamier, and the overall experience is just more satisfying.
Whether you’re making these for a special occasion, holiday gifting, or simply because you’re craving that perfect chocolate-peanut butter combination, this recipe will become your go-to. The best part? You only need five basic ingredients and about 30 minutes of active time. Your kitchen will smell absolutely incredible, and you’ll have complete control over the quality of chocolate and peanut butter you use.
These homemade treats are perfect for birthdays, Valentine’s Day, Halloween, Christmas, or just a regular Tuesday when you need something sweet. They also make thoughtful homemade gifts that friends and family will actually be excited to receive. Trust me, once people taste your homemade chocolate peanut butter cups, they’ll be requesting them regularly.
Why You’ll Love This Chocolate Peanut Butter Cups Recipe
Before we dive into the details, let me share why this recipe has become such a favorite in my kitchen and will likely become one in yours too:
Simple ingredients you probably already have – No specialty items required, just pantry staples that come together in the most delicious way possible.
Customizable sweetness – Unlike store-bought versions where you’re stuck with one sugar level, you can adjust the sweetness to your personal preference.
No artificial ingredients – You know exactly what’s going into your treats, making them a cleaner option for health-conscious chocolate lovers.
Budget-friendly – Making your own costs significantly less than buying premium chocolate peanut butter cups from specialty candy stores.
Impressive yet easy – They look professionally made but require minimal skill, making you look like a kitchen superstar.
Perfect for dietary modifications – Easily adaptable for vegan, sugar-free, or other dietary needs.
Ingredients You’ll Need for Perfect Chocolate Peanut Butter Cups
The beauty of this recipe lies in its simplicity. Here’s what you’ll need to create these irresistible treats:
For the Chocolate Coating:
- 2 cups (12 oz) semi-sweet or dark chocolate chips – The foundation of your cups; quality matters here
- 2 tablespoons coconut oil – Creates that signature snap and smooth texture
- Pinch of sea salt – Enhances the chocolate flavor beautifully
For the Peanut Butter Filling:
- 1 cup creamy peanut butter – Use natural or conventional; each creates a slightly different texture
- 1/4 cup powdered sugar – Sweetens and helps achieve the perfect consistency
- 3 tablespoons softened butter – Adds richness and helps the filling set properly
- 1/2 teaspoon vanilla extract – Deepens the flavor profile
- Pinch of salt – Balances the sweetness
Optional Add-ins:
- Flaky sea salt – For topping and that gourmet touch
- Chopped peanuts – Adds wonderful texture
- Mini chocolate chips – For extra chocolate indulgence
Equipment Needed:
- Muffin tin (standard or mini)
- Paper or silicone cupcake liners
- Two microwave-safe bowls
- Spoon or small cookie scoop
- Refrigerator or freezer

Step-by-Step Instructions for Homemade Chocolate Peanut Butter Cups
Making chocolate peanut butter cups at home is surprisingly straightforward. Follow these detailed steps for perfect results every time:
Step 1: Prepare Your Workspace
Line a standard 12-cup muffin tin with paper or silicone cupcake liners. If you’re making mini cups, you’ll need a mini muffin tin and mini liners. Set this aside where you can easily access it during the assembly process.
Step 2: Melt the Chocolate
In a microwave-safe bowl, combine the chocolate chips and coconut oil. Microwave in 30-second intervals, stirring thoroughly between each interval, until the chocolate is completely melted and smooth. This usually takes 90 seconds to 2 minutes total. The coconut oil helps create that professional snap when you bite into the finished cups. Alternatively, you can melt the chocolate using a double boiler on the stovetop for more gentle, controlled melting.
Step 3: Create the Bottom Layer
Spoon about one tablespoon of melted chocolate into each prepared liner, spreading it slightly up the sides to create a shallow cup shape. You want enough chocolate to create a sturdy base but not so much that there’s no room for filling. Tap the muffin tin gently on the counter to remove any air bubbles and help the chocolate settle evenly. Place the tin in the refrigerator for 10-15 minutes until the chocolate is completely set and firm to the touch.
Step 4: Make the Peanut Butter Filling
While the chocolate base is setting, prepare your peanut butter filling. In a medium bowl, combine the peanut butter, powdered sugar, softened butter, vanilla extract, and a pinch of salt. Stir vigorously with a spoon until the mixture is completely smooth and well combined. The filling should be thick but scoopable. If it seems too thin, add a bit more powdered sugar; if too thick, add a teaspoon of softened butter.
Step 5: Add the Filling
Remove the muffin tin from the refrigerator. Scoop about one tablespoon of peanut butter filling and roll it into a ball between your palms. Gently flatten the ball into a disc shape that’s slightly smaller than the diameter of your chocolate cup. Place the disc directly onto the set chocolate layer, pressing down very gently. The filling should not reach the edges—leave about 1/4 inch space around the perimeter. Repeat with all cups.
Step 6: Cover with Chocolate
Reheat your remaining chocolate for 15-20 seconds if it has started to thicken. Spoon the melted chocolate over each peanut butter disc, making sure to completely cover the filling and seal it to the bottom chocolate layer. Use the back of your spoon to spread the chocolate evenly to the edges. Tap the pan gently on the counter again to smooth the tops and remove air bubbles.
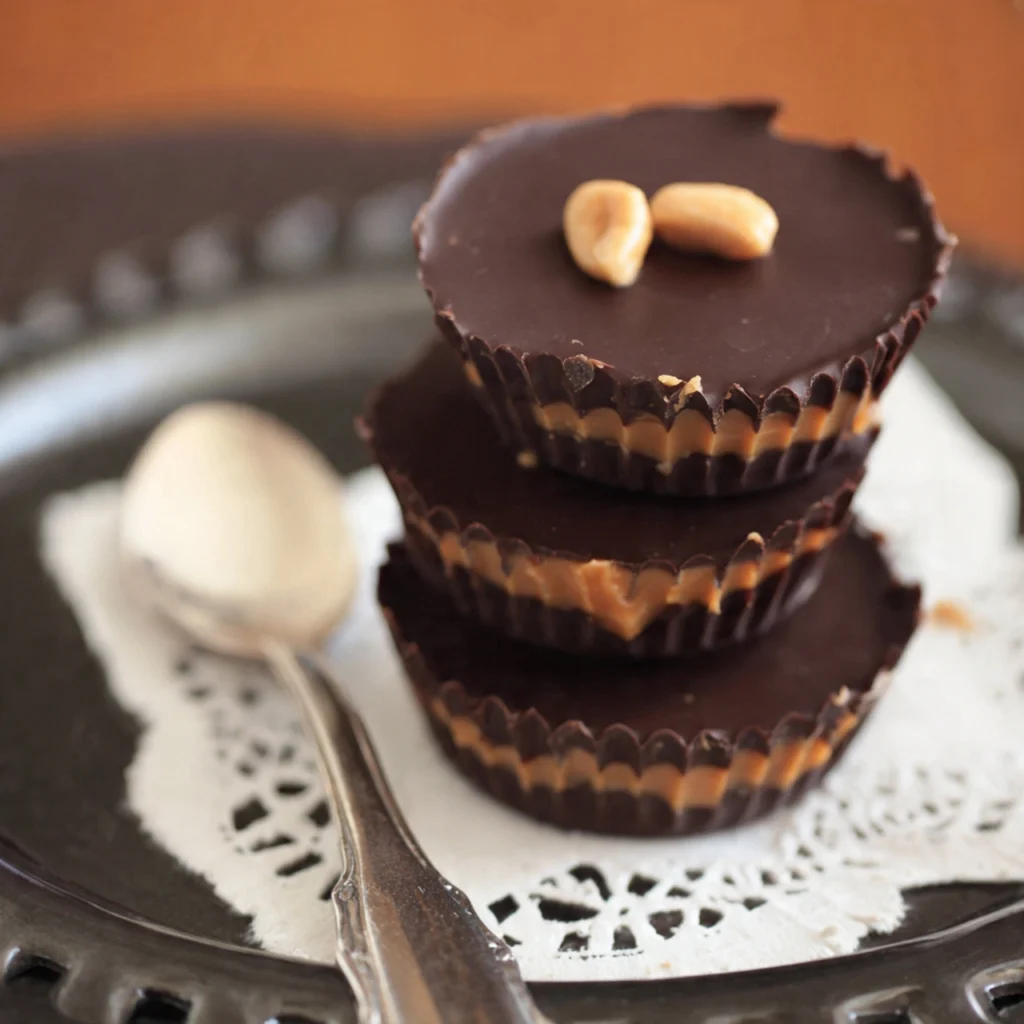
Step 7: Add Finishing Touches
If desired, sprinkle a pinch of flaky sea salt on top of each cup while the chocolate is still wet. This adds a gourmet touch and enhances the flavors beautifully. You can also add chopped peanuts or any other toppings you prefer.
Step 8: Final Chill
Place the muffin tin back in the refrigerator for at least 30 minutes, or in the freezer for 15 minutes, until the chocolate is completely set. The cups should feel firm and solid when you gently press the top.
Step 9: Remove and Store
Once completely set, carefully peel away the paper liners from each chocolate peanut butter cup. Store them in an airtight container with parchment paper between layers to prevent sticking.
Pro Tips for the Perfect Chocolate Peanut Butter Cups
After making countless batches of these addictive treats, I’ve learned some valuable tricks that make all the difference:
Choose quality chocolate – The chocolate is the star here, so invest in good quality chocolate chips or bars. Ghirardelli, Guittard, or Trader Joe’s brands work beautifully. Avoid cheap chocolate chips that contain too many stabilizers.
Temperature matters – Make sure your peanut butter filling is at room temperature before assembling. Cold filling can cause the bottom chocolate layer to crack when you press it down.
Don’t skip the coconut oil – This ingredient is crucial for achieving that professional snap and smooth texture. It helps the chocolate melt in your mouth rather than feel waxy.
Use natural peanut butter carefully – Natural peanut butter works wonderfully but may need slightly more powdered sugar to achieve the right consistency since it’s often more oily. Stir it very well before measuring.
Tap out the air bubbles – This simple step ensures smooth, professional-looking cups without any imperfections or holes.
Work quickly but carefully – Chocolate sets fast, especially if your kitchen is cool. Have everything measured and ready before you start melting chocolate.
Use a cookie scoop – For perfectly uniform cups, use a small cookie scoop to portion both the chocolate and the filling. This ensures consistency across all your cups.
Freeze for cleaner cuts – If you want to slice one in half for photos or presentation, freeze it first for easier, cleaner cutting.
Double the recipe – These disappear quickly, so consider making a double batch. They store well and make excellent gifts.
Experiment with chocolate types – Try milk chocolate for sweeter cups, dark chocolate for a more sophisticated flavor, or even white chocolate for variety.
Common Mistakes to Avoid
Even though this recipe is beginner-friendly, there are a few pitfalls that can affect your results. Here’s what to watch out for:
Using too much filling – Overfilling makes it impossible to properly seal the cups and creates messy edges. Remember, less is more. You want a balanced ratio of chocolate to peanut butter.
Not letting layers set properly – Patience is key. If you add the filling before the bottom layer is completely firm, everything will slide around and create a mess. Same goes for the final chocolate layer.
Overheating the chocolate – Chocolate can seize or become grainy if overheated. Always use short intervals and stir thoroughly between each one. If your chocolate seems thick or grainy, it’s been overheated.
Skipping the coconut oil – Some people try to omit this, thinking it’s optional. It’s not. Without it, your chocolate will be too thick to work with and won’t have that satisfying snap.
Using cold peanut butter – Cold peanut butter is difficult to mix and won’t combine well with the other filling ingredients. Always use room temperature ingredients for the filling.
Not tapping out air bubbles – Those little air pockets can create weak spots in your chocolate shell, making the cups more likely to crack or break.
Storing them incorrectly – These need to stay cool or the chocolate will become too soft. Never leave them at room temperature for extended periods, especially in warm weather.
Forgetting the salt – That tiny pinch of salt in both the chocolate and the filling is what makes these taste balanced and professional rather than one-dimensionally sweet.
Storage and Serving Suggestions
Proper storage keeps your chocolate peanut butter cups tasting fresh and maintaining their perfect texture:
Storage Instructions:
Refrigerator Storage – Store your cups in an airtight container in the refrigerator for up to 2 weeks. Place parchment paper between layers to prevent sticking. They’re delicious served cold, with that satisfying firm snap.
Freezer Storage – For longer storage, freeze the cups in a freezer-safe container for up to 3 months. They actually taste amazing straight from the freezer—the peanut butter filling gets wonderfully fudgy and dense.
Room Temperature – In cooler months (when your kitchen is below 70°F), you can keep them at room temperature in an airtight container for 2-3 days. They’ll be softer and the peanut butter more creamy this way.
Gift Packaging – If giving as gifts, package them in small boxes or bags with parchment paper separating layers. Include a note mentioning they should be refrigerated.
Serving Suggestions:
These chocolate peanut butter cups are perfect on their own, but here are some creative serving ideas:
- Chop them up and fold into vanilla ice cream for an incredible dessert
- Crumble over chocolate or peanut butter brownies before baking
- Use as a garnish for peanut butter cheesecake or chocolate mousse
- Pack in lunchboxes as a special treat (if your child’s school allows nuts)
- Serve alongside coffee or hot chocolate for an indulgent afternoon snack
- Create a dessert board featuring these cups with other homemade chocolates
- Crush and use as a topping for chocolate peanut butter milkshakes
- Place one on top of a cupcake before the frosting sets for a show-stopping presentation
Frequently Asked Questions
Can I use crunchy peanut butter instead of creamy?
Absolutely! Crunchy peanut butter adds a wonderful texture to the filling. The bits of peanuts create little pockets of crunch that contrast beautifully with the smooth chocolate. Just keep in mind that the filling will have a slightly different consistency and may be a touch harder to work with, but the results are delicious.
How do I make these vegan?
Making vegan chocolate peanut butter cups is simple. Use dairy-free chocolate chips (many dark chocolate varieties are naturally vegan), replace the butter in the filling with vegan butter or additional coconut oil, and ensure your peanut butter doesn’t contain honey. The recipe works exactly the same way with these substitutions.
Can I make these sugar-free or keto-friendly?
Yes! Use sugar-free chocolate chips sweetened with stevia or erythritol, and replace the powdered sugar in the filling with powdered erythritol or your preferred keto-friendly sweetener. Natural peanut butter with no added sugar works best for this version. The texture will be slightly different, but still delicious.
Why is my chocolate cracking when I bite into it?
Cracking usually happens for one of two reasons: either the chocolate was overheated and has seized slightly, or there’s not enough fat in the chocolate mixture. Make sure you’re adding the coconut oil and not overheating your chocolate. Also, letting the cups come to room temperature for just 5 minutes before eating can help prevent cracking.
Can I use different nut butters?
Definitely! Almond butter, cashew butter, sunflower seed butter (for nut-free versions), or even cookie butter all work wonderfully in this recipe. Each creates a unique flavor profile. Almond butter creates a more delicate, sophisticated taste, while sunflower seed butter offers a nut-free alternative that’s perfect for those with allergies.
How can I get my cups to look more professional?
The key to professional-looking cups is consistency and patience. Use a small cookie scoop to measure equal amounts of chocolate and filling for each cup. Make sure each layer is completely set before adding the next. Tap the pan firmly on the counter to remove air bubbles and create smooth surfaces. Using silicone liners instead of paper can also create smoother sides.
My peanut butter filling is too runny. What should I do?
If your filling is too runny, add more powdered sugar one tablespoon at a time until it reaches the right consistency. It should be thick enough to hold its shape when rolled into a ball. If you’re using natural peanut butter, this is more common because of the higher oil content. Alternatively, refrigerate the filling for 10-15 minutes to firm it up before assembling.
Can I add other mix-ins to the filling?
Absolutely! The filling is very versatile. Try adding mini chocolate chips, crushed pretzels for a sweet-and-salty version, a tablespoon of cocoa powder for chocolate peanut butter cups, a teaspoon of espresso powder for a mocha twist, or even a small amount of fruit jam for a PB&J version. Just don’t add so much that the filling becomes too soft to hold its shape.
Final Thoughts
Making your own chocolate peanut butter cups at home is one of those kitchen projects that feels indulgent but is actually quite practical. You get to control the ingredients, customize the flavors, save money, and create something that genuinely tastes better than what you’d buy at the store. The process is therapeutic, the results are impressive, and the satisfaction of biting into a cup you made yourself is unbeatable.
These treats have become a staple in my kitchen for everything from holiday gifting to satisfying late-night chocolate cravings. I love that I can make a batch on Sunday and have homemade chocolate peanut butter cups ready to grab from the fridge all week long. They’re my secret weapon for potlucks, bake sales, and teacher appreciation gifts.
Whether you’re a seasoned home cook or someone who’s never attempted homemade candy before, this recipe will surprise you with how achievable it is. The worst that can happen is you eat delicious chocolate peanut butter mistakes—and honestly, that doesn’t sound so bad.
So grab your ingredients, set aside an hour, and treat yourself to the best chocolate peanut butter cups you’ve ever tasted. Your future self (and everyone you share them with) will thank you. Happy cooking!
Print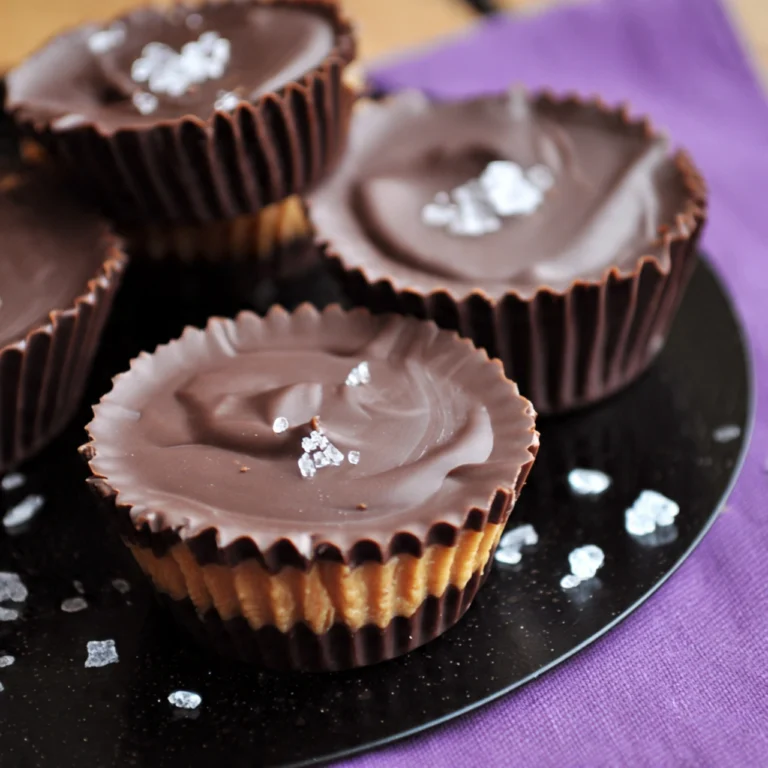
Chocolate Peanut Butter Cups Recipe (Better Than Store-Bought!)
Homemade Chocolate Peanut Butter Cups that taste even better than store-bought! This easy no-bake recipe uses simple ingredients to create rich, creamy candies with the perfect chocolate-to-peanut butter ratio. Make them in standard or mini sizes for treats, gifts, or special occasions.
- Total Time: 1 hour
- Yield: 12 standard cups
Ingredients
For Chocolate Coating:
- 2 cups (12 oz) semi-sweet or dark chocolate chips
- 2 tablespoons coconut oil
- Pinch of sea salt
For Peanut Butter Filling:
- 1 cup creamy peanut butter
- 1/4 cup powdered sugar
- 3 tablespoons butter, softened
- 1/2 teaspoon vanilla extract
- Pinch of salt
Instructions
- Line a 12-cup standard muffin tin with paper or silicone liners.
- Melt chocolate chips and coconut oil in a microwave-safe bowl in 30-second intervals, stirring between each, until smooth (about 90 seconds total).
- Spoon 1 tablespoon melted chocolate into each liner, spreading slightly up the sides. Tap pan on counter to remove air bubbles. Refrigerate 10-15 minutes until set.
- Mix peanut butter, powdered sugar, softened butter, vanilla, and salt in a bowl until smooth and well combined.
- Roll peanut butter mixture into 12 balls, flatten into discs slightly smaller than the chocolate cups.
- Place one peanut butter disc on each set chocolate base, pressing gently. Leave 1/4-inch space around edges.
- Reheat remaining chocolate if needed. Spoon over peanut butter filling, covering completely and sealing to bottom layer. Tap pan to smooth tops.
- Add flaky sea salt or toppings if desired while chocolate is wet.
- Refrigerate 30 minutes or freeze 15 minutes until completely set.
- Remove from liners and store in an airtight container in the refrigerator.
Notes
- Use quality chocolate for best results—the chocolate flavor really shines through
- Natural peanut butter works but may need extra powdered sugar for proper consistency
- Don’t skip the coconut oil; it creates the perfect texture and snap
- Store in refrigerator for up to 2 weeks or freeze for up to 3 months
- Makes 12 standard cups or 24 mini cups
- Prep Time: 1 hour
- Cook Time: 0 minutes (no-bake)
- Category: Desserts
- Method: No-Bake, Refrigerated
- Cuisine: American
- Diet: Vegetarian